
Color Book instructions

I’ve had a few questions about the color book construction, which makes sense as my video was split into two parts for the Sewing Summit. I will try to provide some basic instructions here that will supplement the video. I don’t have the time at this moment to make more books and take photos, so I will describe as best as possible. I will try to add some illustrations to the blog, but my kids are using my laptop all day for school and entertainment, so I’m not sure I will be able to manage that.
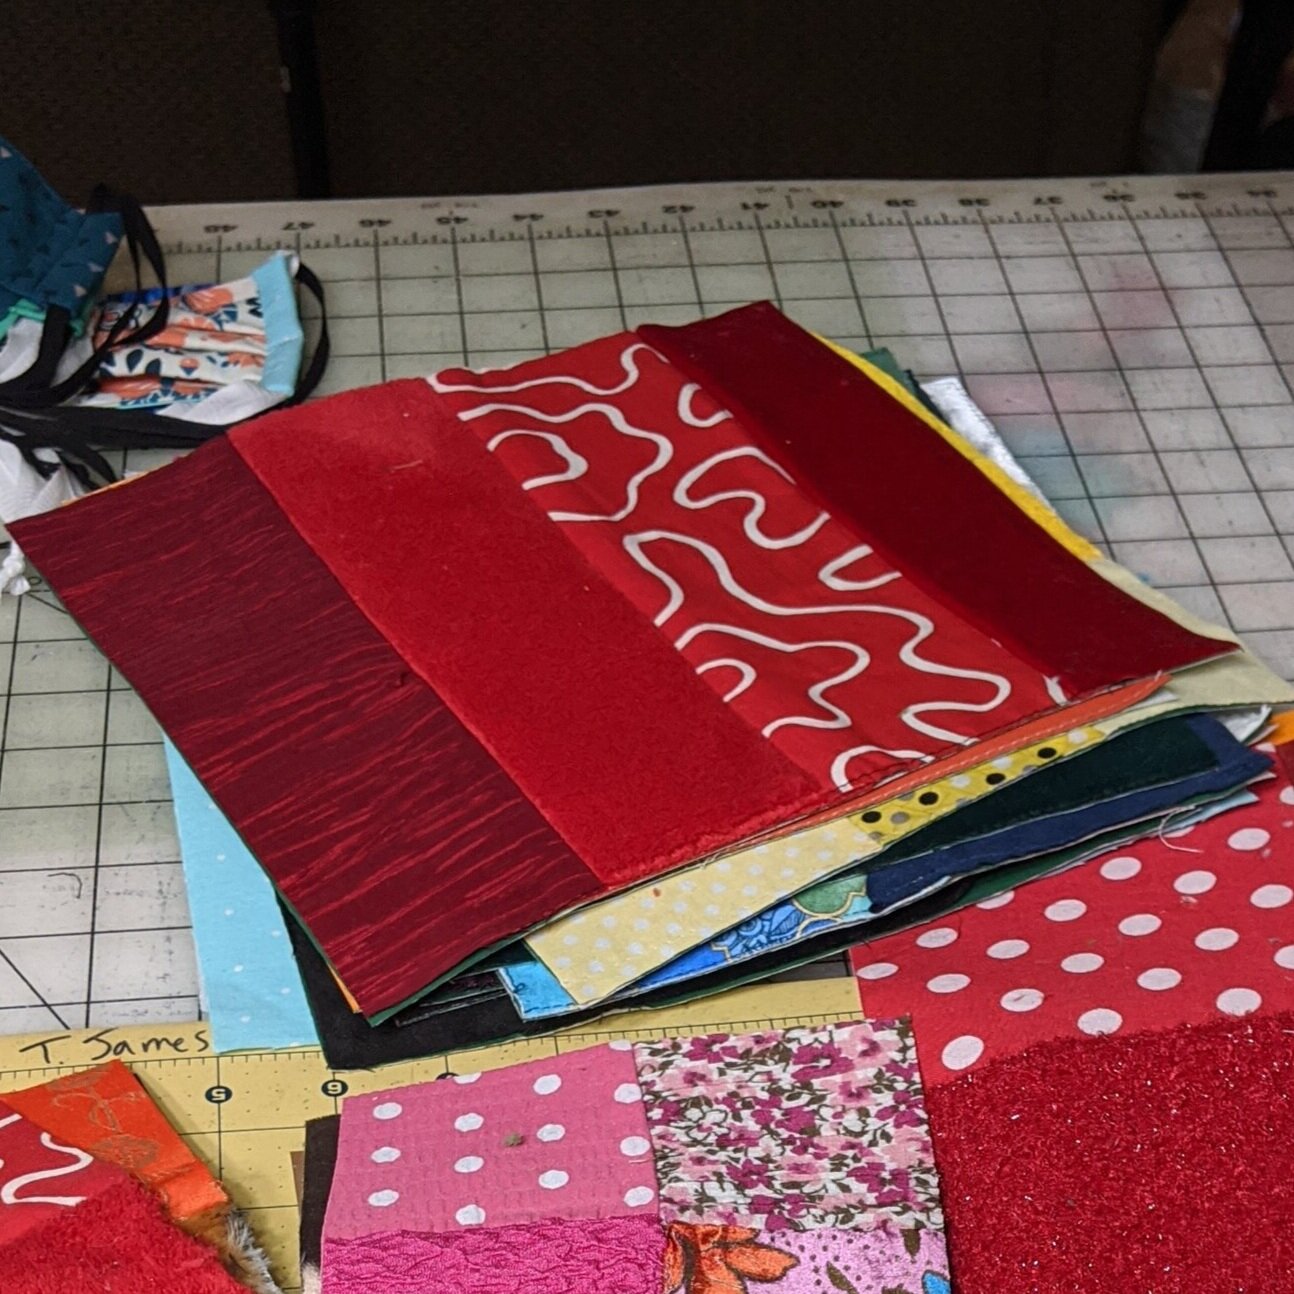
Just a note—I don’t think I mentioned in the video, but this book is not an original idea. I found it on a blog over a decade ago, and I have since adapted it to my own needs and made it in several varieties. I have other pictures here of color books I have sewn through the years.
Pick your size
My video showed three versions of this project.
A large version, using four squares of each fabric color. (Finished version is approximately 8.5” (21.5 cm) square).
A small version, also made of squares, attached to a wooden ring (Finished version is approximately 4.5” (11.5 cm) square).
A large version, crazy quilt style. (Finished version is approximately 9” (23 cm) square)
You can make these in any size. These are just the sizes I used for the video. These are so customizable!

Supplies
You will need fabric scraps and interfacing. I use woven fusible interfacing (Pellon SF-101 is my usual brand) and fusible fleece. I have made these with normal quilt batting as well. For the third variation, you will need about a yard of fabric as for that version, you will be sewing scraps to fabric rectangles. This fabric won’t show. I usually use muslin. For the video I had a shortage of fabric, so I used some green broadcloth.

Picking Colors
I generally stick to multiples of 4 pages for the large books. So, 8 or 12 are easiest. For the small version, I did show how to create a center page, which meant I could make it with 6 or 10 colors in a book. I made two small books, each with 6 pages. If you want a cover and/or back page, include that in your page count. In the above picture, you can see how I drew one of my books. This is always helpful for visualizing which pages will be sewing to which other pages. (Ignore the dimensions, those are not quite right). You can add a center page to a large book too.
Picking Fabric
You will want a mix of fabrics for each color. Ideally these will be pre-washed so your book can be washed later on without shrinking. Also, all the chemicals on fabric aren’t great for babies, so use pre-washed fabric. I like picking fabrics with fun textures for your baby. Using a variety of textures does make it harder to sew, so if you are a beginning sewer, sticking to quilting cotton will make the project easier.
Variation 1- I used a 5” (12.7 cm) template to cut out each fabric. Cut four per page.
Variation 2- I used a 3” (7.6 cm) template to cut out each fabric. Cut four per page.
Variation 3- I pick a variety of fabrics for each page. I like to lay them out on the page to get an idea of how I will be making the final page. Some of them I arrange in squares and rectangles, some of them I start sewing the middle piece and then add them in strips around the outside. A lot depends on what sort of fabrics I have for each color. For this book, I used 10” (25.4 cm) squares of fabric as a base for each page.
Sewing Variations 1 and 2
For each color, arrange your four squares of fabric. I tend to use both woven and knit fabric. If I’m sewing a woven and knit together, I generally put the stretchy fabric on the bottom when sewing two pieces together.
Place two of the squares RST (right sides together). Sew with a 1/4” (6mm) seam allowance. Sew the other two squares together. Press each seams to one side, or just press them down with your fingers. When sewing the two groups of two together, I push the seam allowances in opposite directions so that they sort of lock together.
After sewing them together, move on the the next page. I try to save all the ironing to do together at one time.
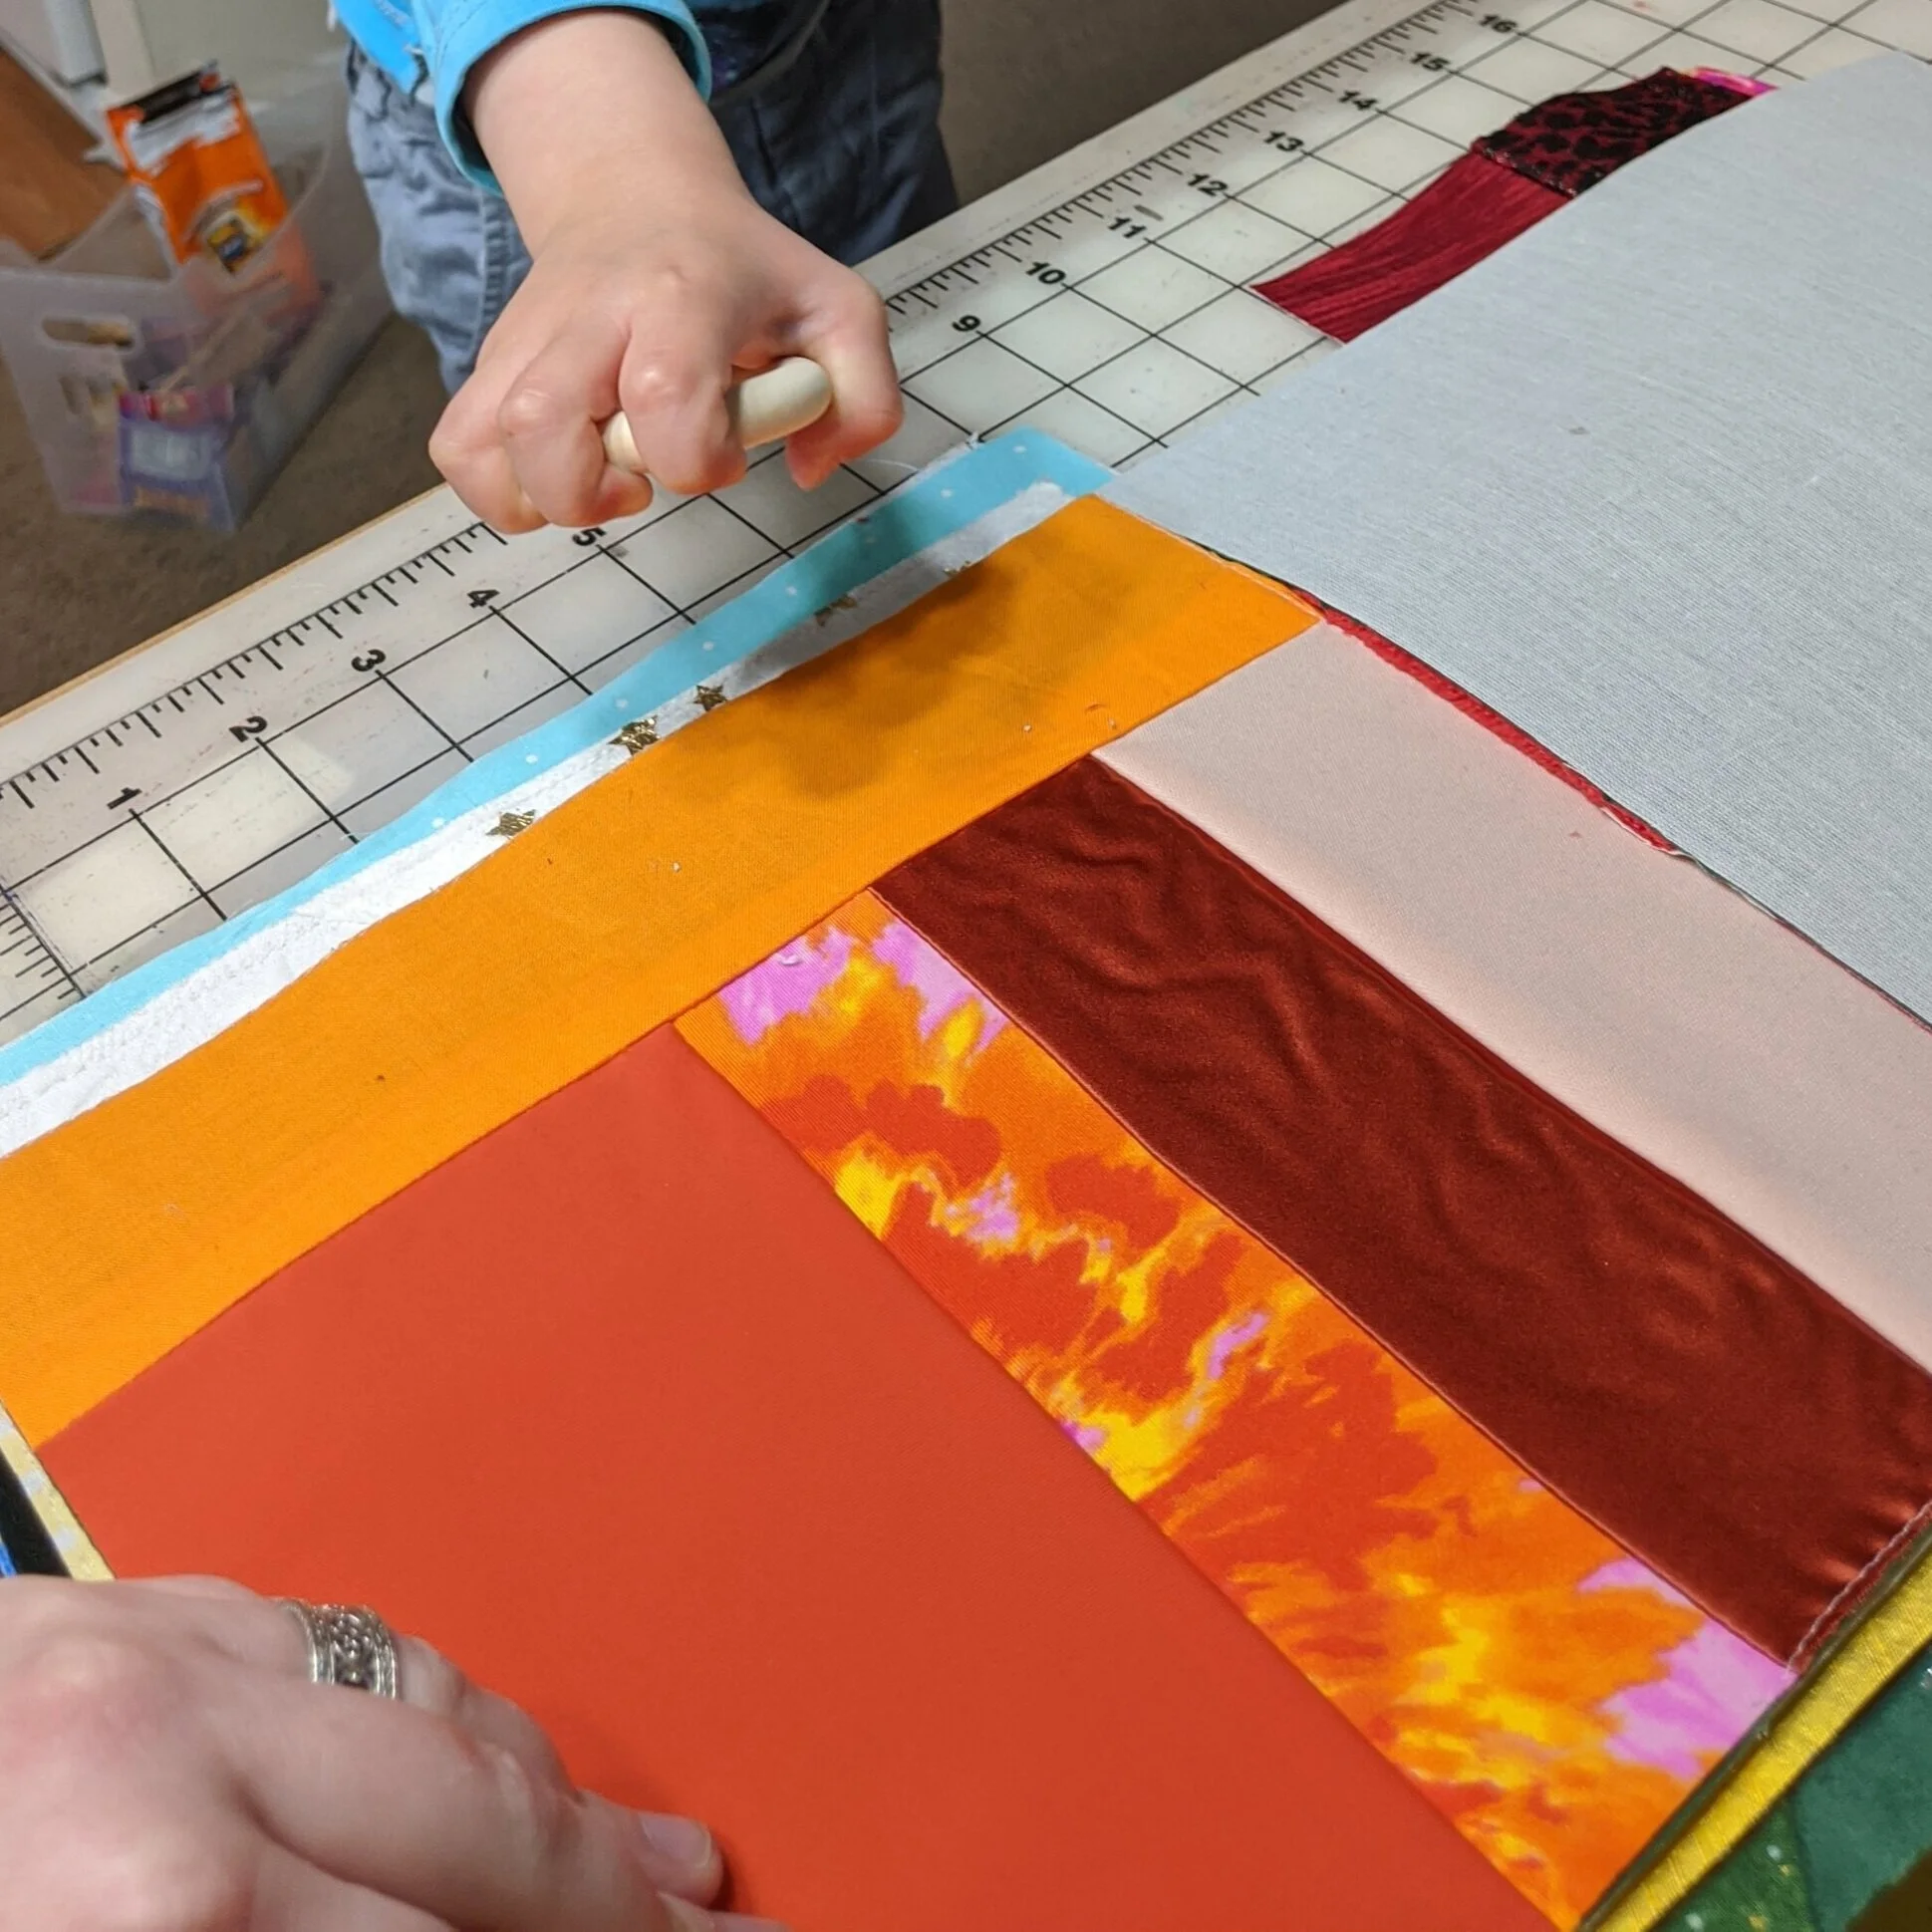
Sewing Variation 3
For each page, you need a base square of fabric. (I had someone ask—why don’t you interface this fabric before sewing? The answer—that will probably work just fine. Sewing on the different pieces sometimes makes the back page bunch up, and I like to do all my pressing at once generally, so I save the interfacing for the end, but if you prefer, you can interface each base piece with a fusible woven interfacing first).
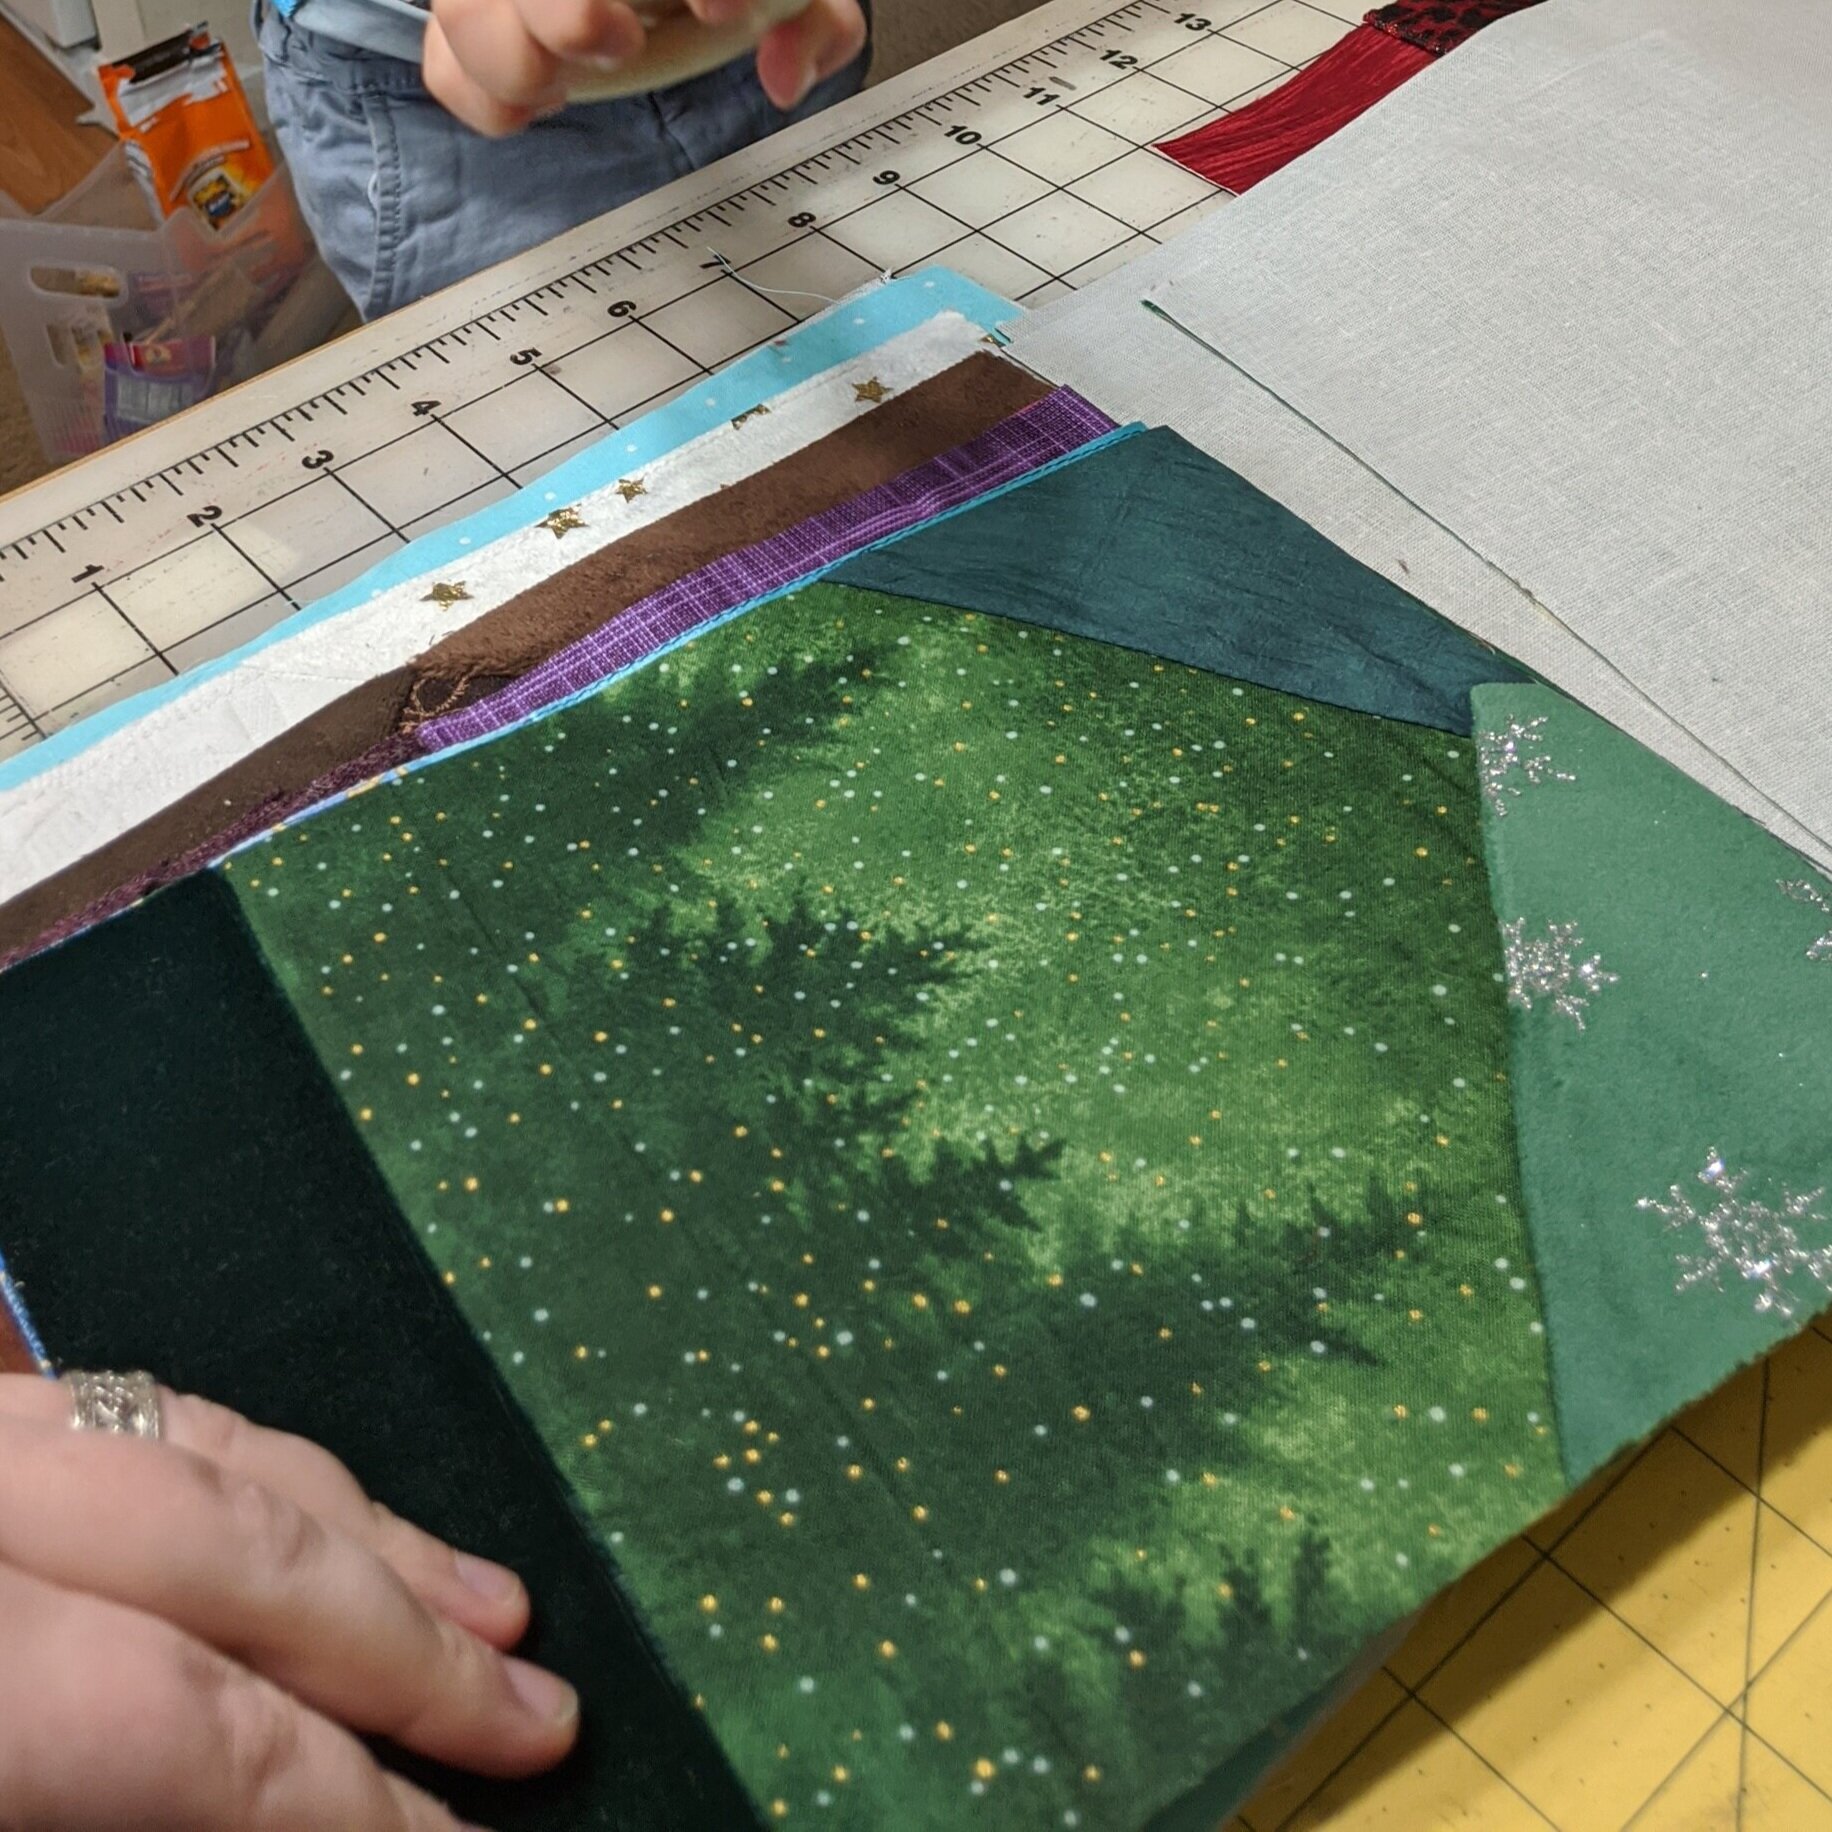
If you are sewing the crazy quilt style, pick a center fabric to go in the middle. Cut it to have about four-five sides, and they can all be different lengths. Place it face up in the center.
Pick a second fabric, and place it face down, with one side aligned with one side of the center piece. Sew to the base layer. Fold the second open so the right side is up. Rotate your base. Pick a third fabric, and place it face down on top of the other two. Sew. Keep rotating and sewing fabric on until you have the whole base covered. I pin down fabric as I go if it is not staying in place. At the end, baste around all four edges and trim off the extra fabric. Here is a page I sewed with the order I sewed the pieces.

You can make every page this same way, or you can vary it. I tend to do a variety of designs so every page looks different.
Iron and interface
After the pages are all sewn, press each page flat. I then add fusible interfacing.
Variation 1- I find that with the large pages, I like to have one side be fused with woven interfacing, and one side with fleece. I have to look at my diagram to make sure I’m fusing the pages with the correct type. So the front cover and back cover, which will be sewn together, get fused with fleece. Then the Red and White pages, which will be sewn to the covers, I fuse with woven interfacing. And I follow that alternating pattern. I didn’t mention this in the video, but you can also sew the pages together in pairs and then interface them if you want to cut down on the thickness of the middle seam.
Variation 2- I don’t like the thickness of fleece with these small ones, so I interface them all with woven fusible.
Variation 3- Because these have the added fabric layer, I don’t use fleece either. Just woven fusible interfacing on the back of each page.
Cut to size
Since we’re using lots of types of fabric, after sewing the pages, you will likely have some pages that aren’t perfectly rectangle or square anymore. I trim each page to a perfect square or rectangle.
Also, If you sew everything together with the pages the same size, the middle pages will end up sticking out when the book is closed. So I cut the inner pages a little narrower, by half inch. (The video example ones I made each page a whole inch smaller and that’s too much; I just wasn’t thinking). So for the outer page that will be made up of the front and back covers and the red and white pages, each page I trim to 9” x 9” (22.9 cm) for Variation 1, and 9.5” x 9.5” (24.1 cm) for Variation 3. For the next group of pages, made up of orange, yellow, brown, and black, cut to the same height but 1/2” (1.3 cm) narrower. And then half an inch narrower again for the four inside pages.
For Variation 2, I trim each page to 5” (12.7 cm) square using my 5” template.
Sewing pages together, Variations 1 and 3
Now it’s time to sew the pages together. Check your diagram to make sure you are sewing the correct pages together. I sew the front and back pages RST at the center seam with 1/4” (6 mm) s.a. Sew together each pair of pages. For my arrangement, I sew together the front and pack covers, red and white, orange and black, yellow and brown, green and pink, and blue and purple.
You now have several sewn pages. Match up the ones that should be sewn together (ie the front/back cover page will be sewn to the red/white page). Place them RST. Sew around four sides, leaving an opening about 5” wide to turn. Trim corners, turn, and topstitch.
Now you have several finished pages. Take the innermost page and the next largest page. Place them together, centered, and sew carefully down the center seam, making sure to backstitch at the beginning and end.
Place the sewn pages on top of the outermost page. This will be too thick to sew three pages together. Bend the inner page away and sew together the middle and outer layer, about 1/4” (6 mm) from the spine. You can use a zipper foot to get close to the spine. Then repeat on the other side.
You are finished!
Sewing together Variation 2
(You will need to follow this method if you are using a center page for any size.) Take the two pages that will make up the center page. Sew RST on three sides (top, whichever edge will be the outer edge, bottom). Use a larger seam allowance of 1/2” (1.3 cm). Trim corners, turn right side out, and topstitch. Trim off 1/4” (6 mm) from the raw edge. This will help the outside edge to not stick out farther than the front and back page.
Sandwich the center page between the inside pages. So if your center page is yellow and green, sandwich it between the orange and blue pages, which should be RST. Sew together at center seam.
Take the wooden ring. You will need to sew a loop to connect it to the book. I used scrap fabric and folded it lengthwise until it was about 1” (2.5 cm) wide and several inches long. Then I topstitched the loop. I wrapped it around the wood ring and basted the loop ends together.
Take the remaining outer pages, and place them RST. Place the loop and ring between the layers. Arrange so the ring is close to the seam. Sew at center seam, sewing back and forth over the loop. Trim off long ends of loop.
Now you will sew together the two pages, one with a ring attached, one with a center page. Sew RST on four sides, leaving an opening a few inches wide on one side for turning. I used a zipper foot to be able to sew next to the center seam with the center page. Turn right side out and topstitch.
You are finished with your book!
Questions?
If you have any questions, let me know. I will release my Sewing Summit video eventually on Youtube, probably right before the next Sewing Summit. But for now, it is only available to those who purchased Lifetime Access passes. It may still be be possible to purchase a lifetime access pass. You can check out the Sewing Summit here with all the speakers.