Flourish Sew-a-long, Day 2: Cutting Out
Welcome to Day 2 of the Flourish Clutch Sew-a-long! Today we will be cutting out the fabric and interfacing. As a reminder, here is the schedule:
November 14th: Fabric, Frames, and Interfacing
November 15th: Cutting all the fabric and interfacing
November 16: Sewing the exterior
Okay, are you ready with all your paper pattern pieces? They should roughly look like the pieces above. This was from when I was still writing the pattern, so some of the marks look a bit different in the final version, and apparently I made the foam piece wider, since it's pieced together!
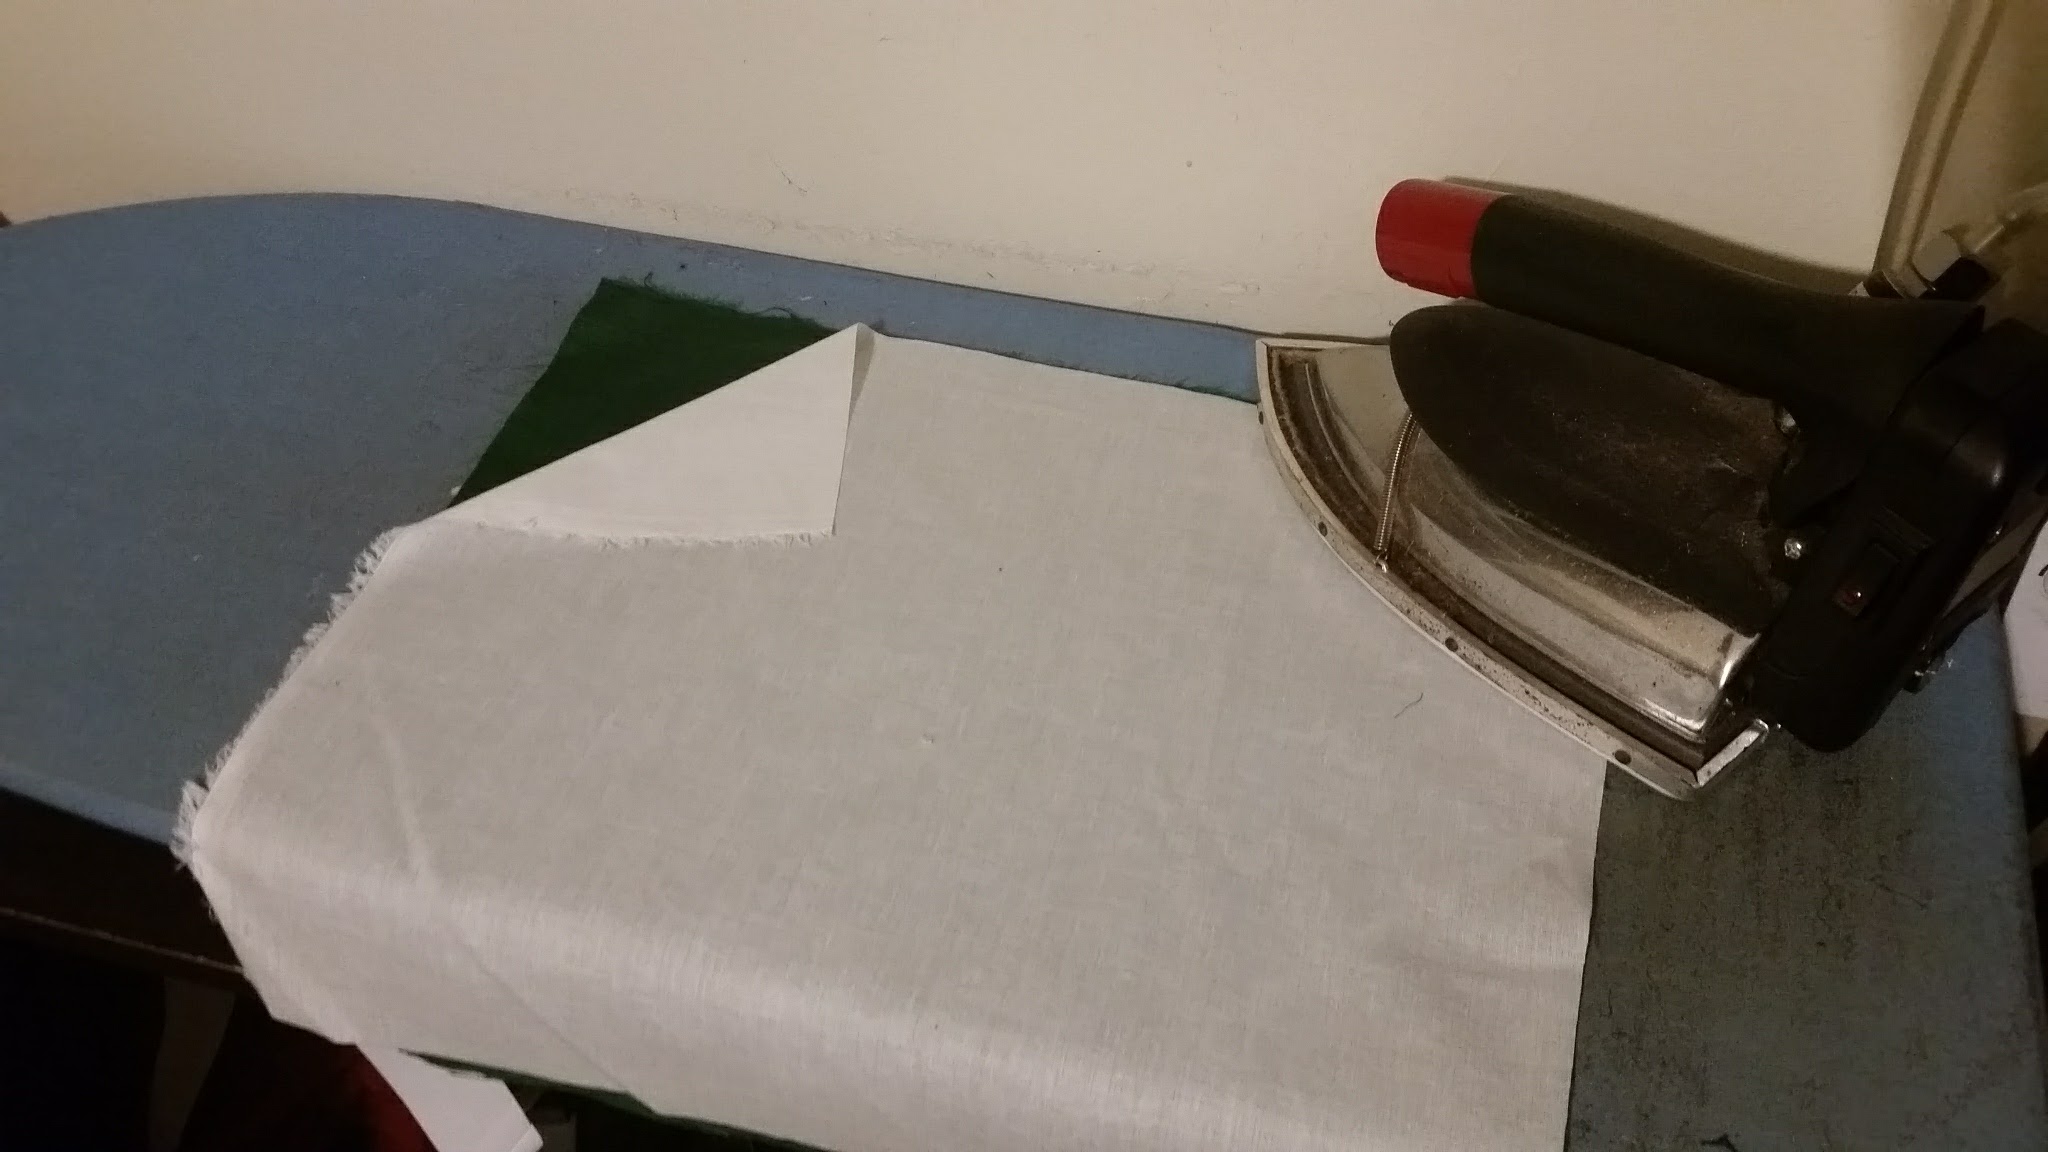
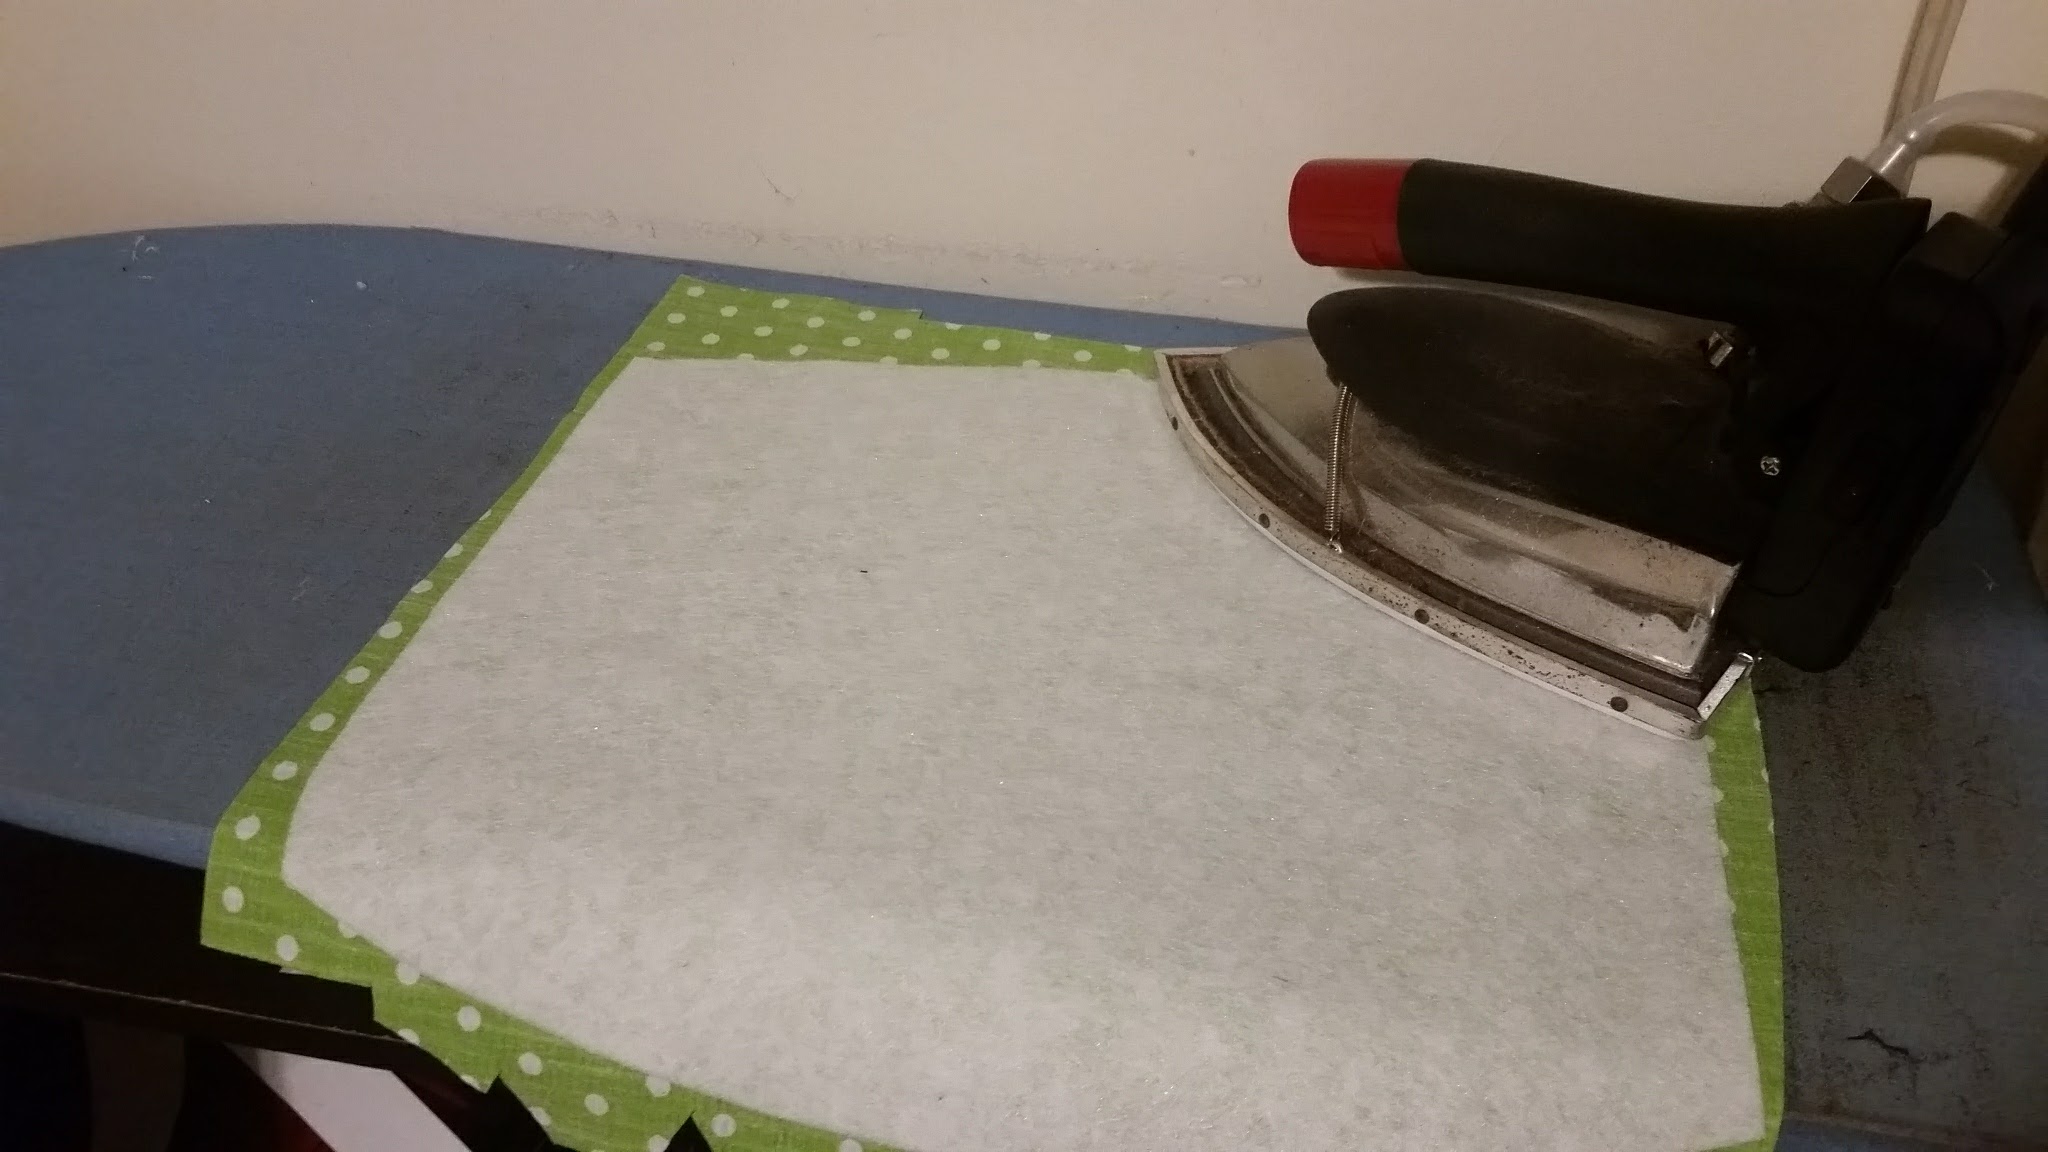
First, I want to talk about attaching the interfacing. I prefer a technique called "block fusing." Block fusing is when you fuse the interfacing to the fabric before cutting it with the pattern piece. While this may feel like more work, it actually ensures that your cut pieces are more accurate. When fusing interfacing to fabric, the fabric sometimes warps or shifts. The interfacing will settle, and you often will find that it's suddenly bigger than your fabric. So you have to then cut off the interfacing edges that are sticking out, and when you sew, your piece may not fit into place perfectly. For all of those reasons, I block fuse.
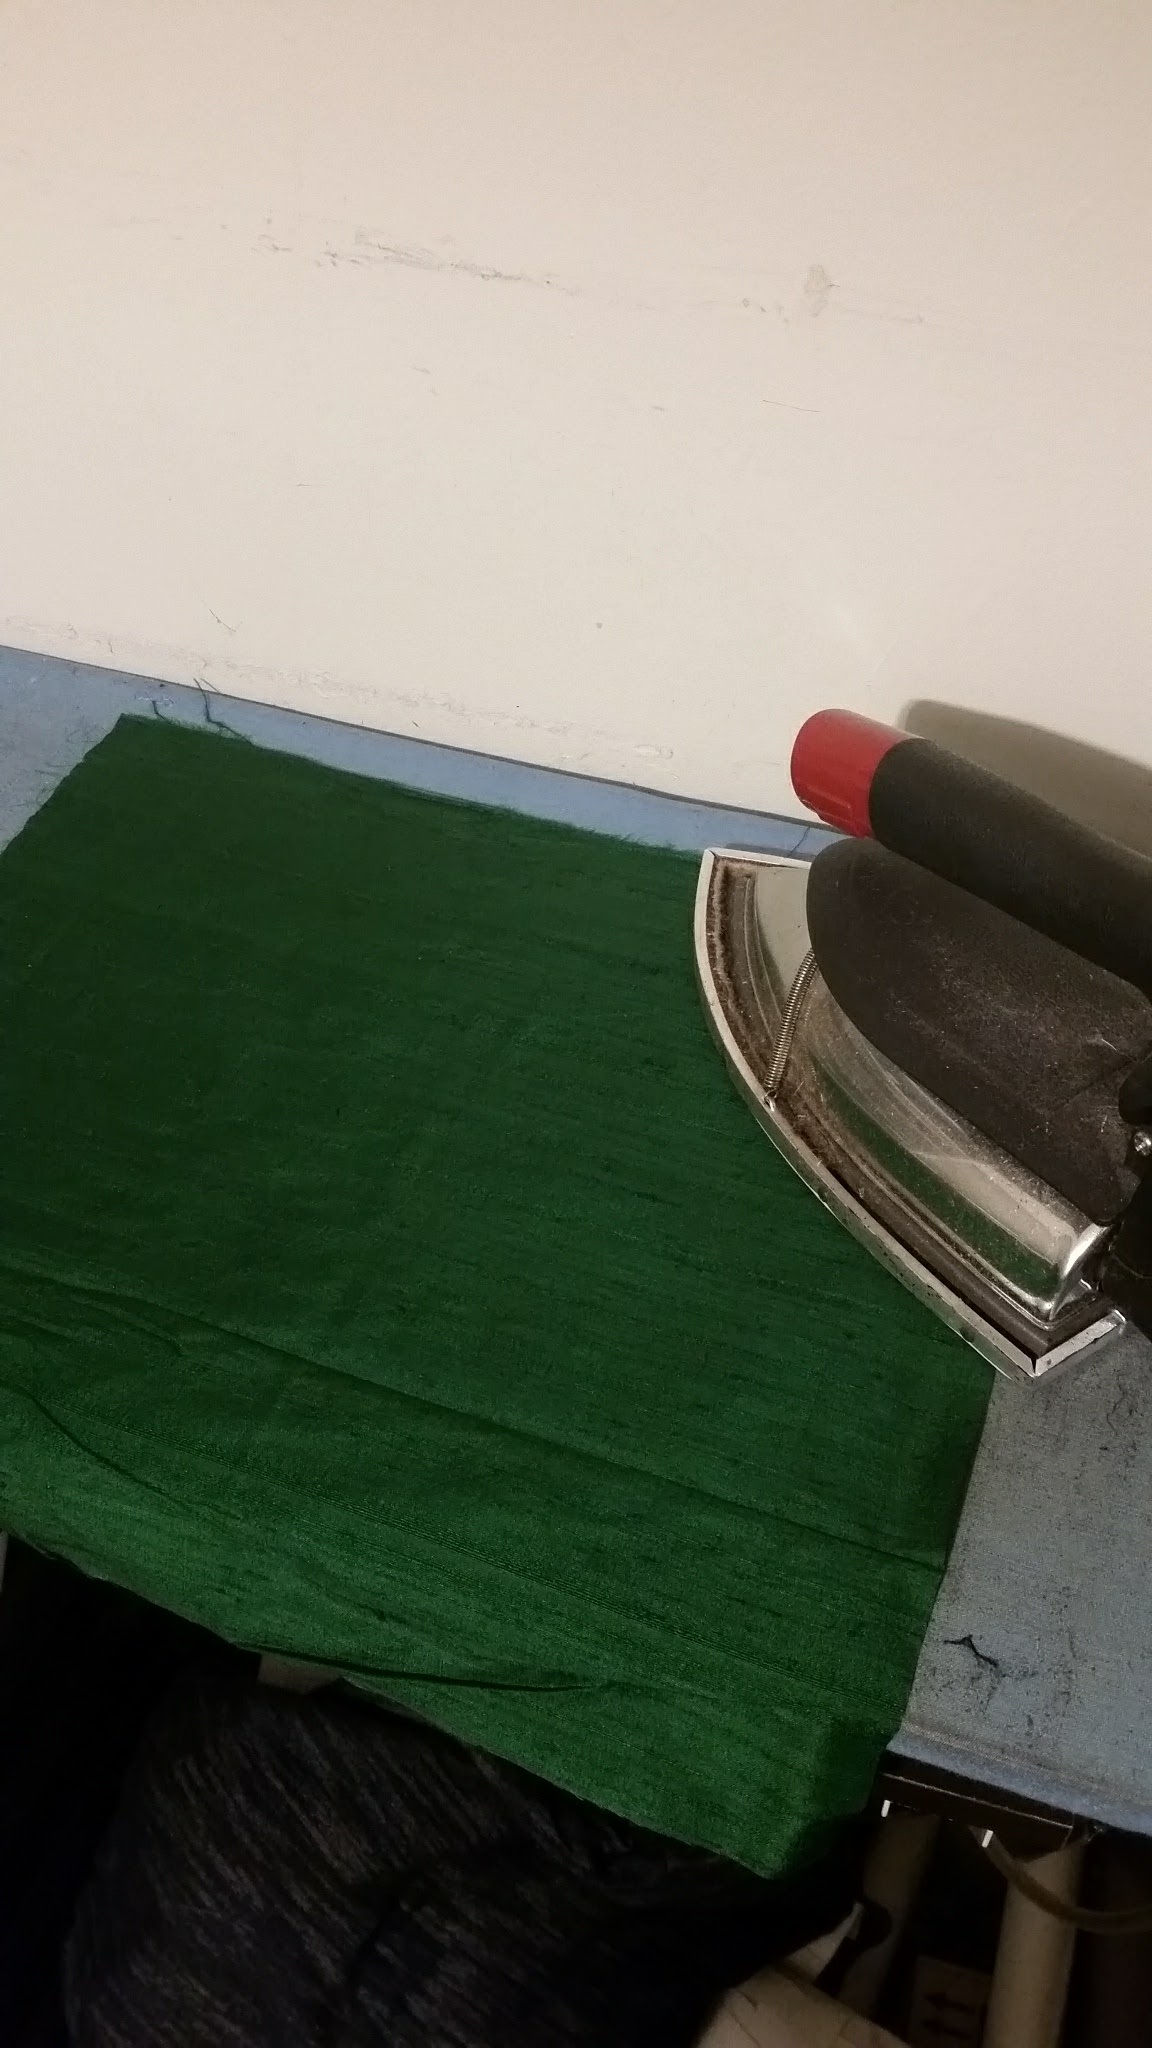
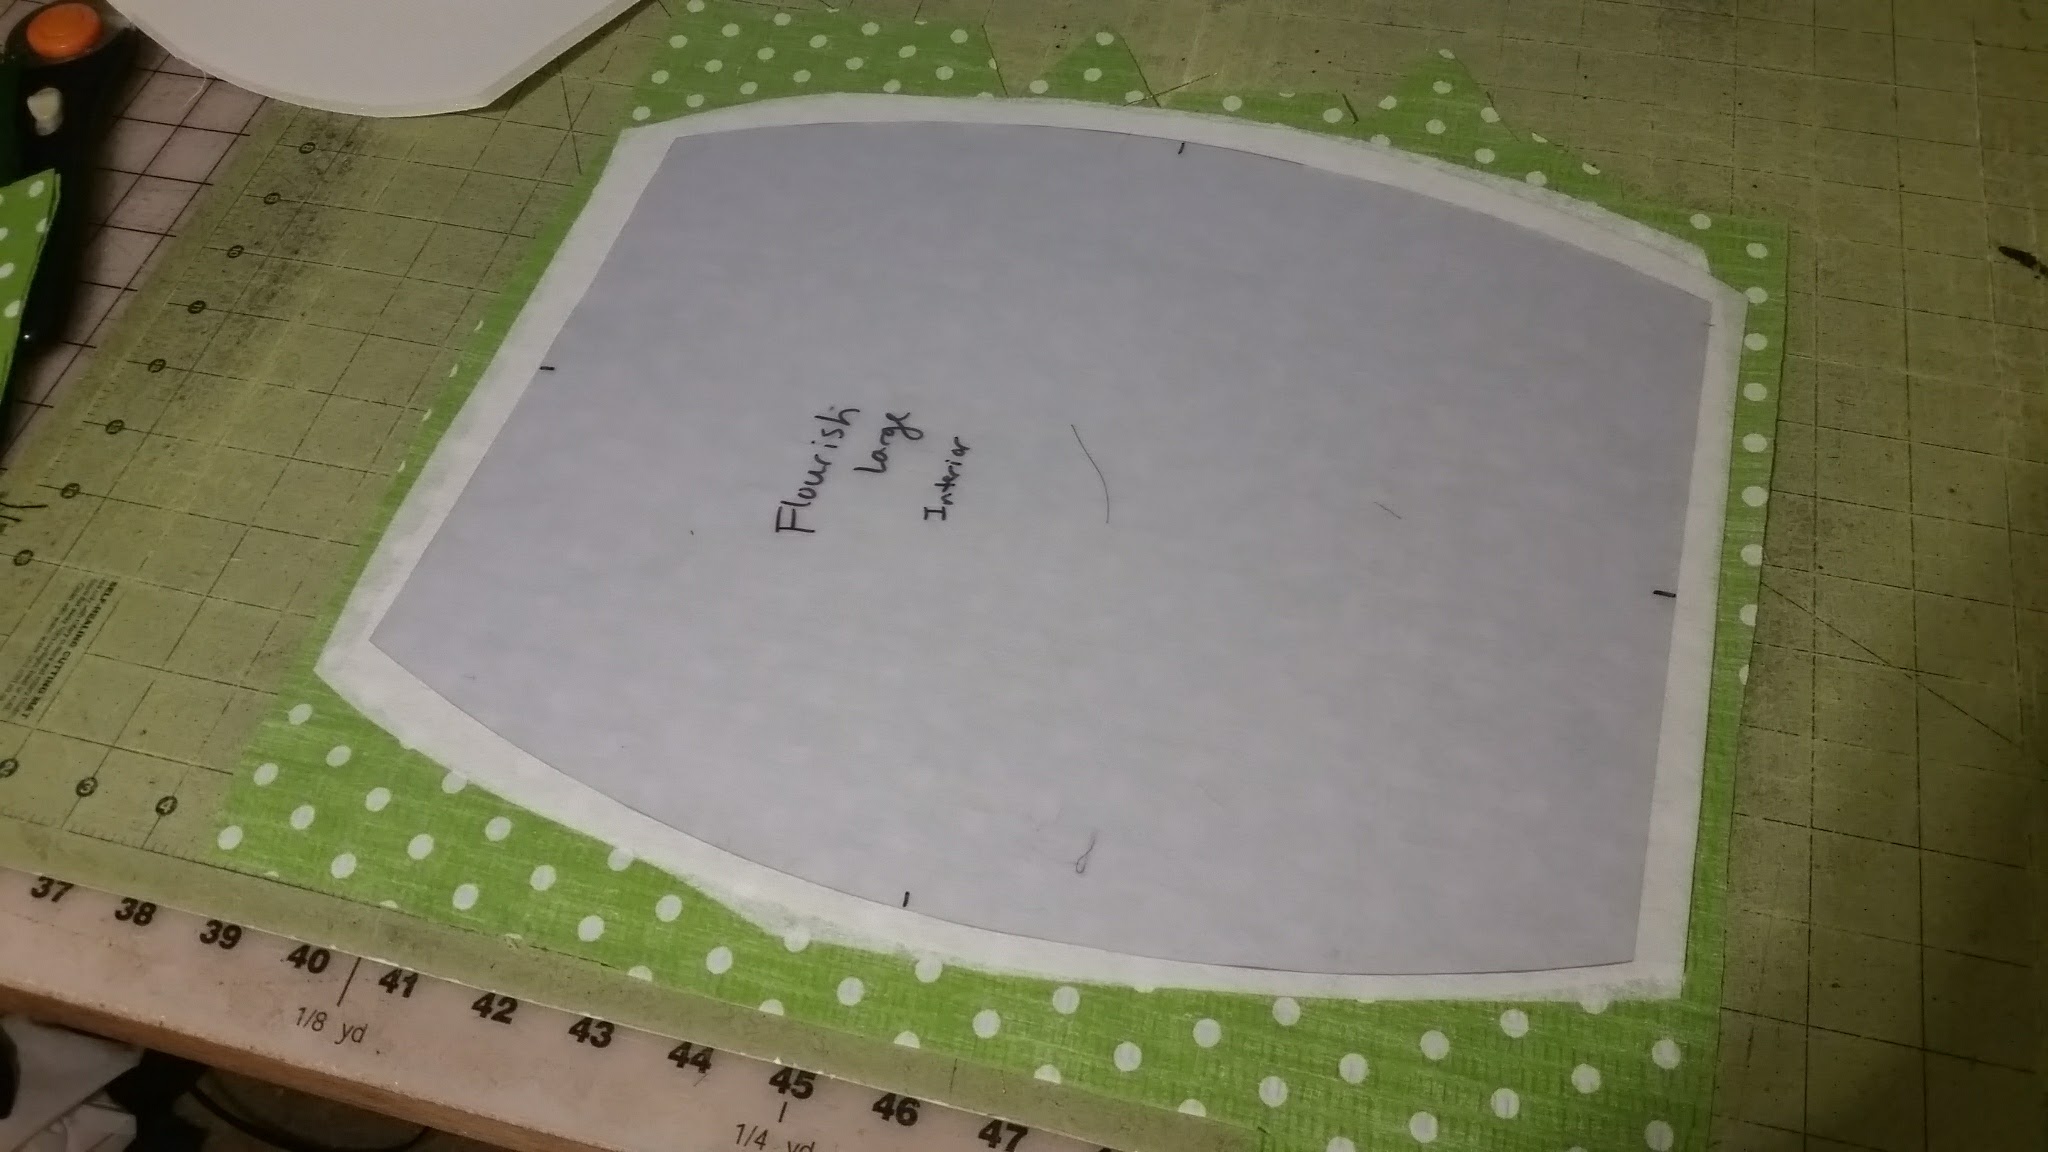
So, when you are cutting the outer pieces and the inner pieces that require woven fusible interfacing, I recommend cutting out some fabric a little bigger than each pattern piece, and the same with the woven interfacing. Then fuse. Also, I recommend ironing your fabric first before adhering the interfacing. Many fabrics shrink a little, and by ironing them first, you can avoid bubbles and distortion. Finally, use your paper pattern pieces to cut out the fabric and interfacing together.
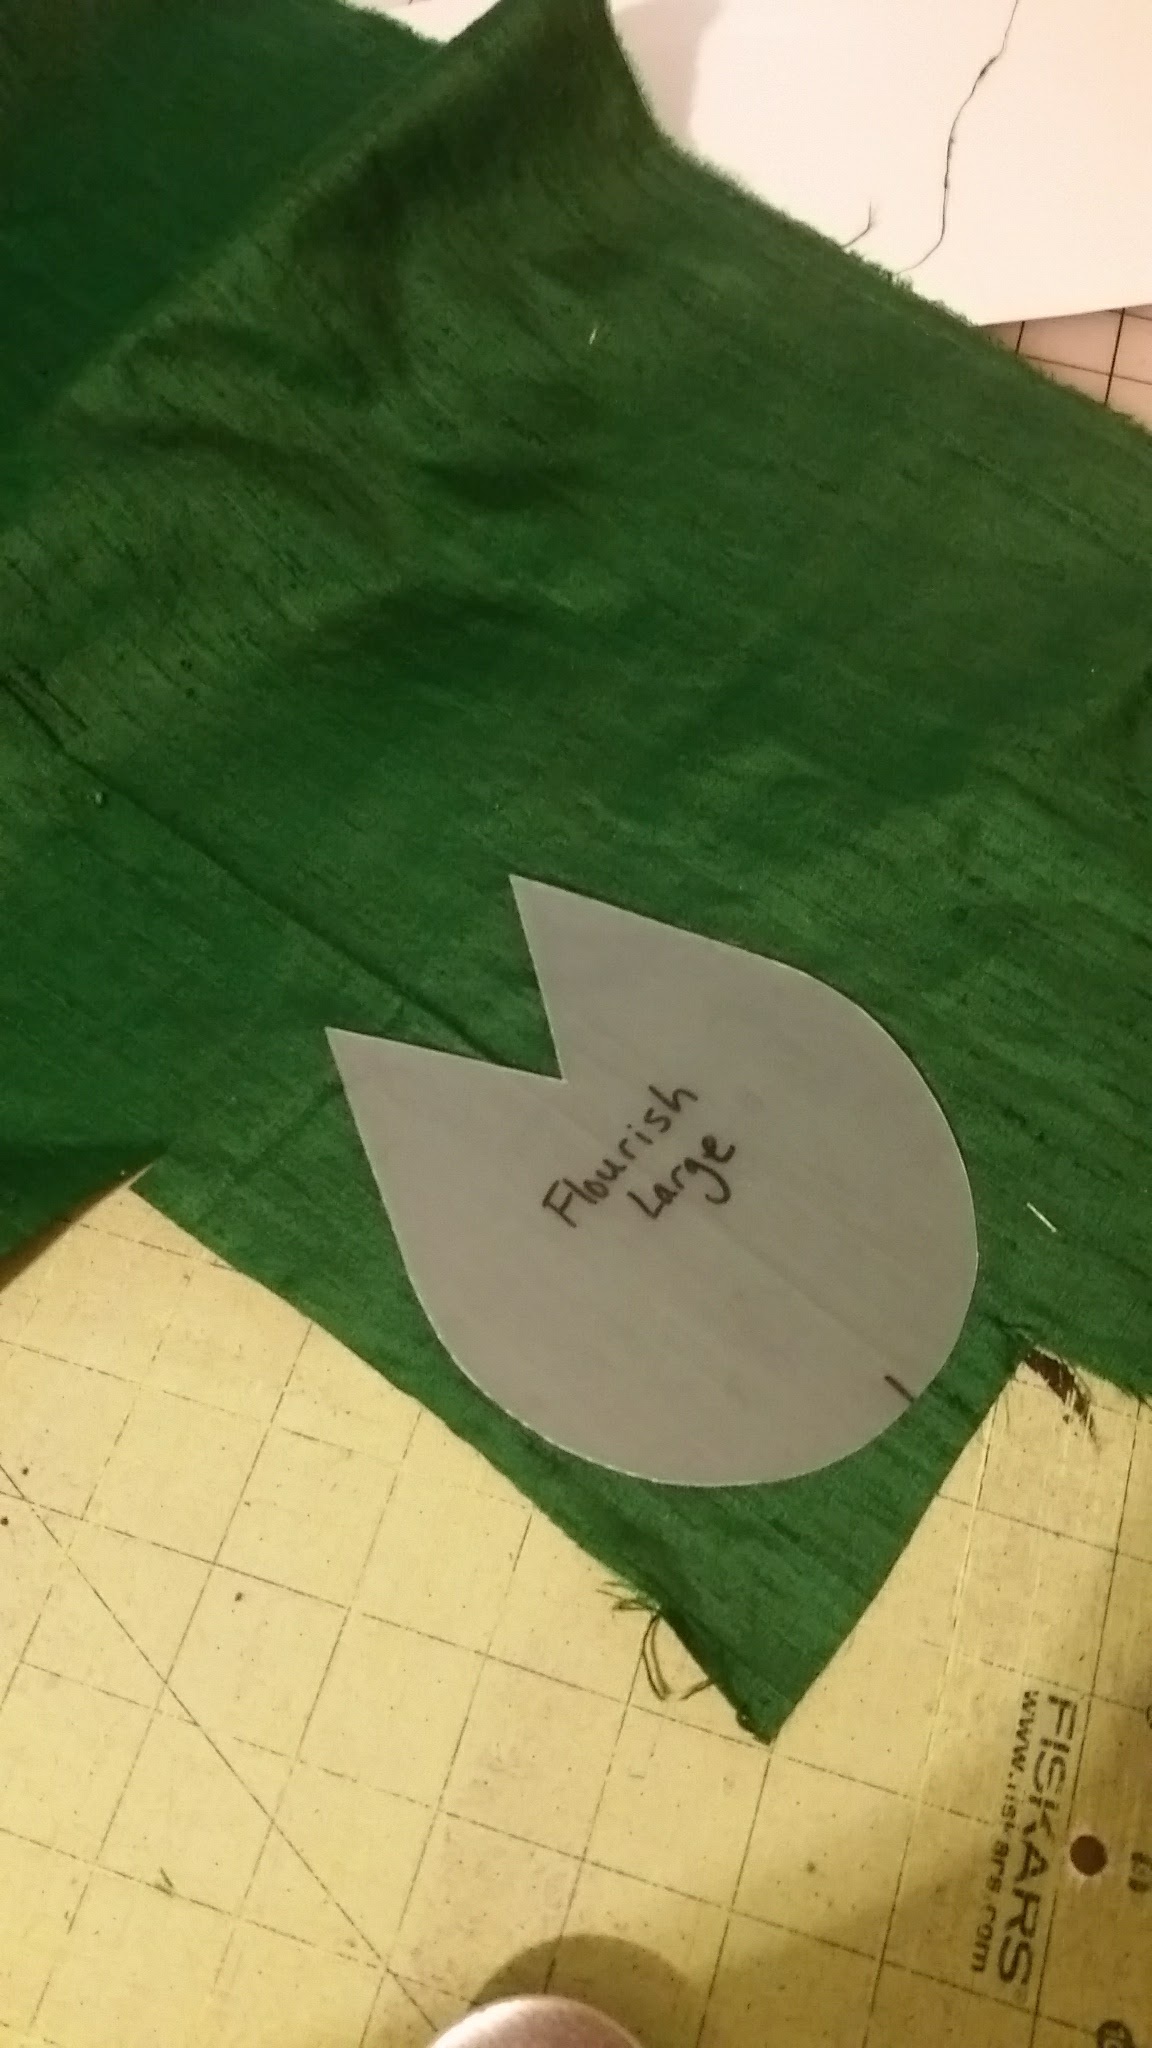
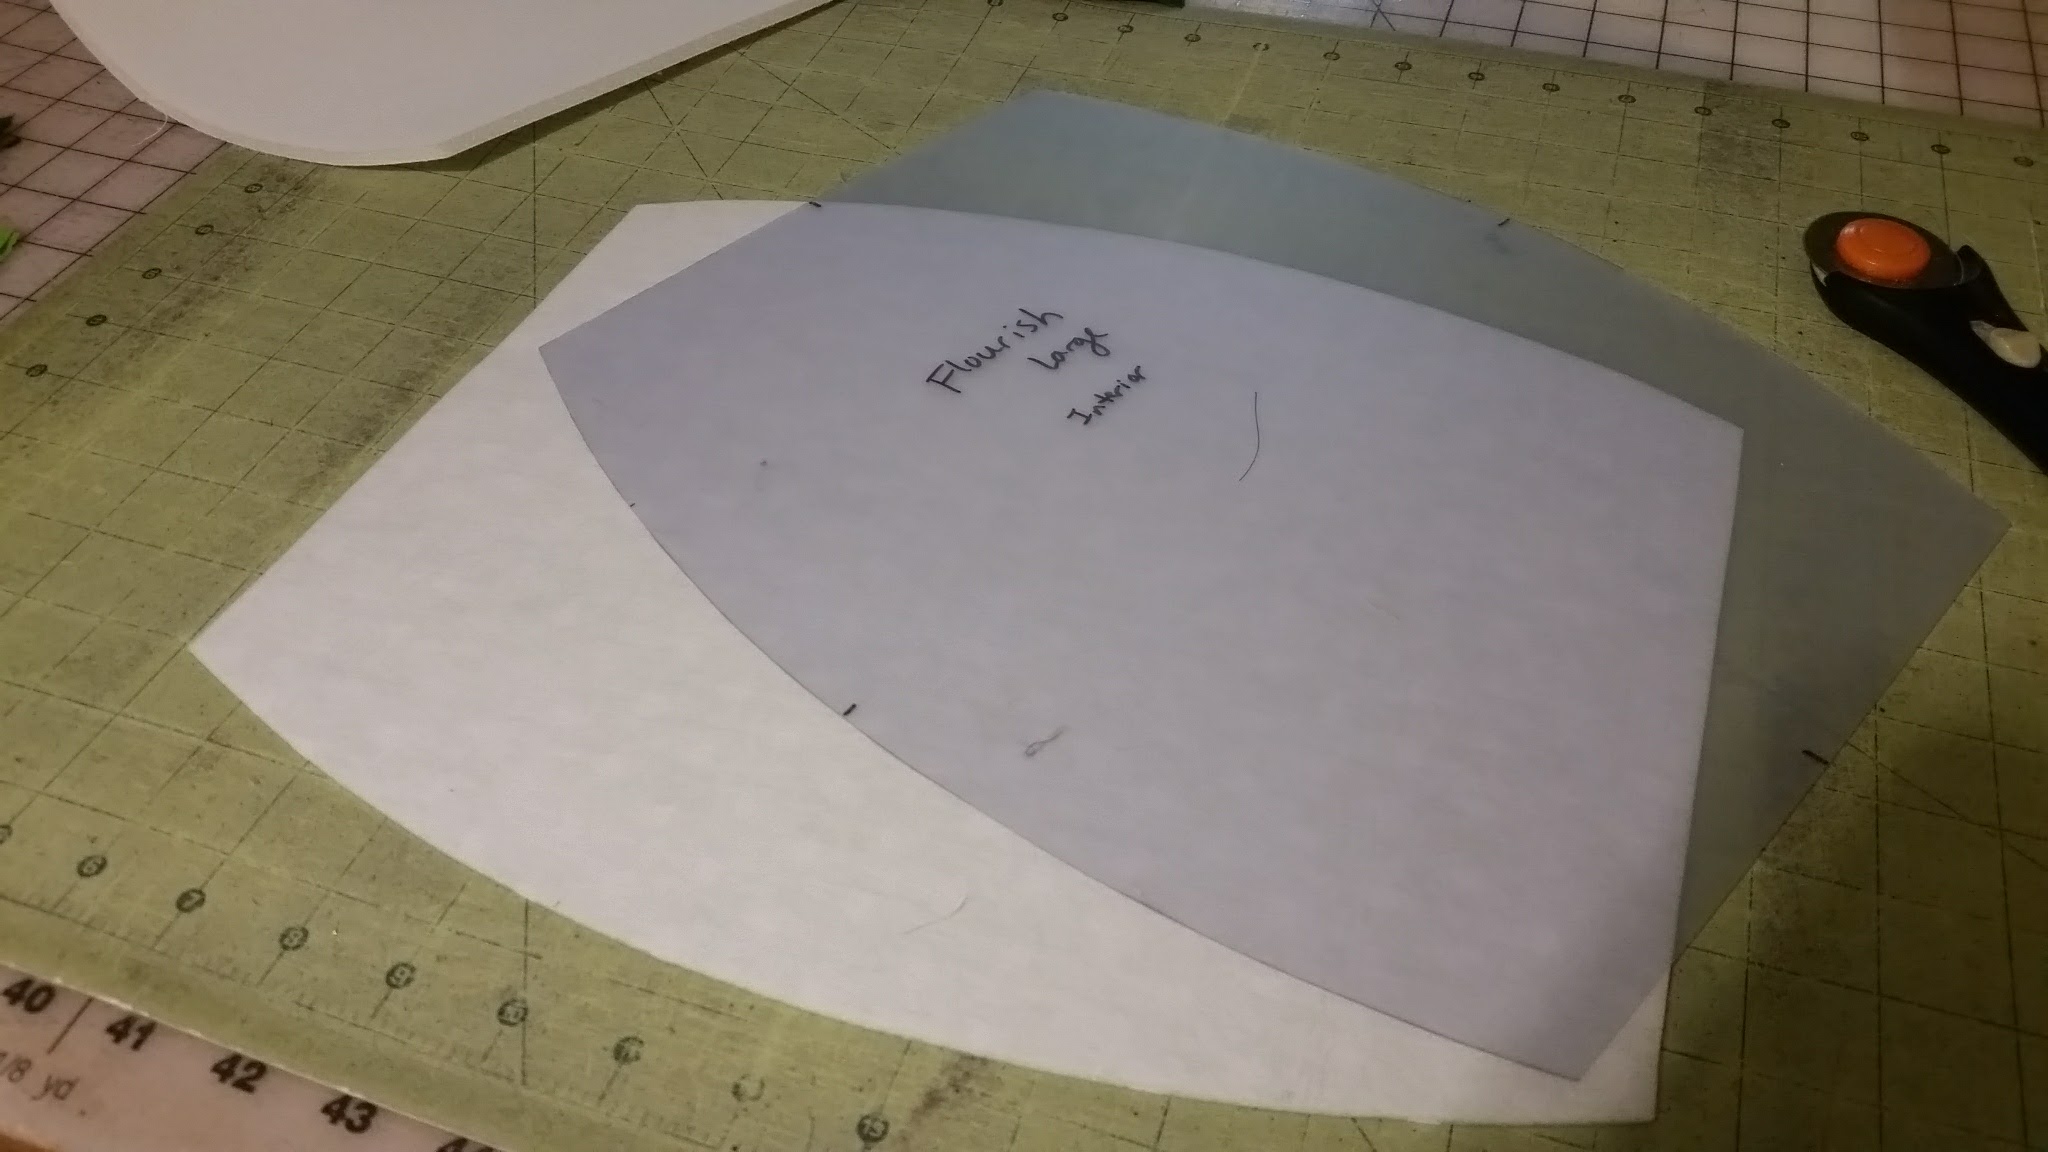
**You may notice that I use clear templates for my pattern pieces instead of paper. For patterns that I will be making often, I buy template plastic from my craft store and make a template for each pattern piece. This is especially helpful for fussy cutting and pattern placement. Since I mostly sell clutches with small pieces, I can fit my pattern pieces onto the template sheets my local store has.**
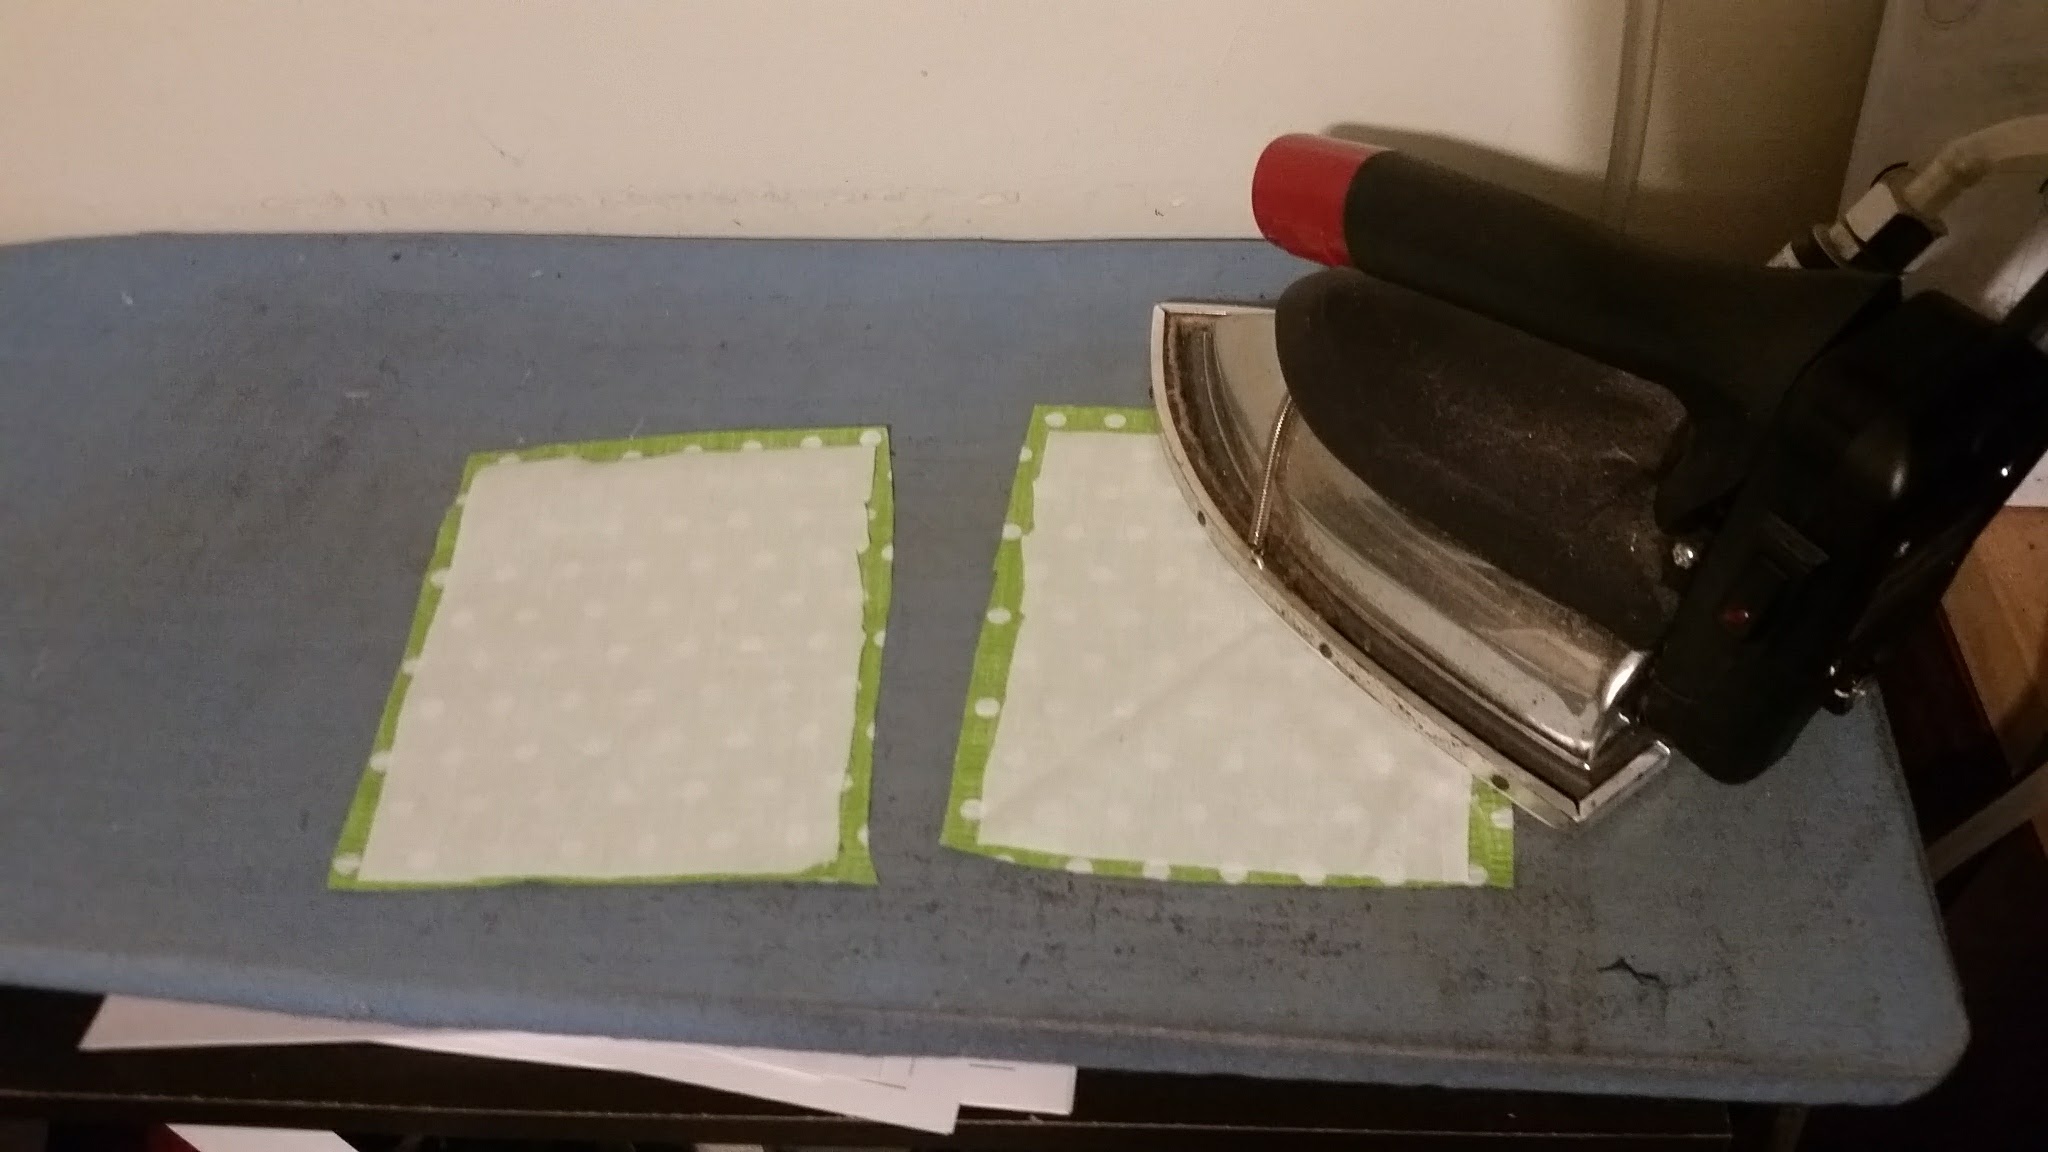
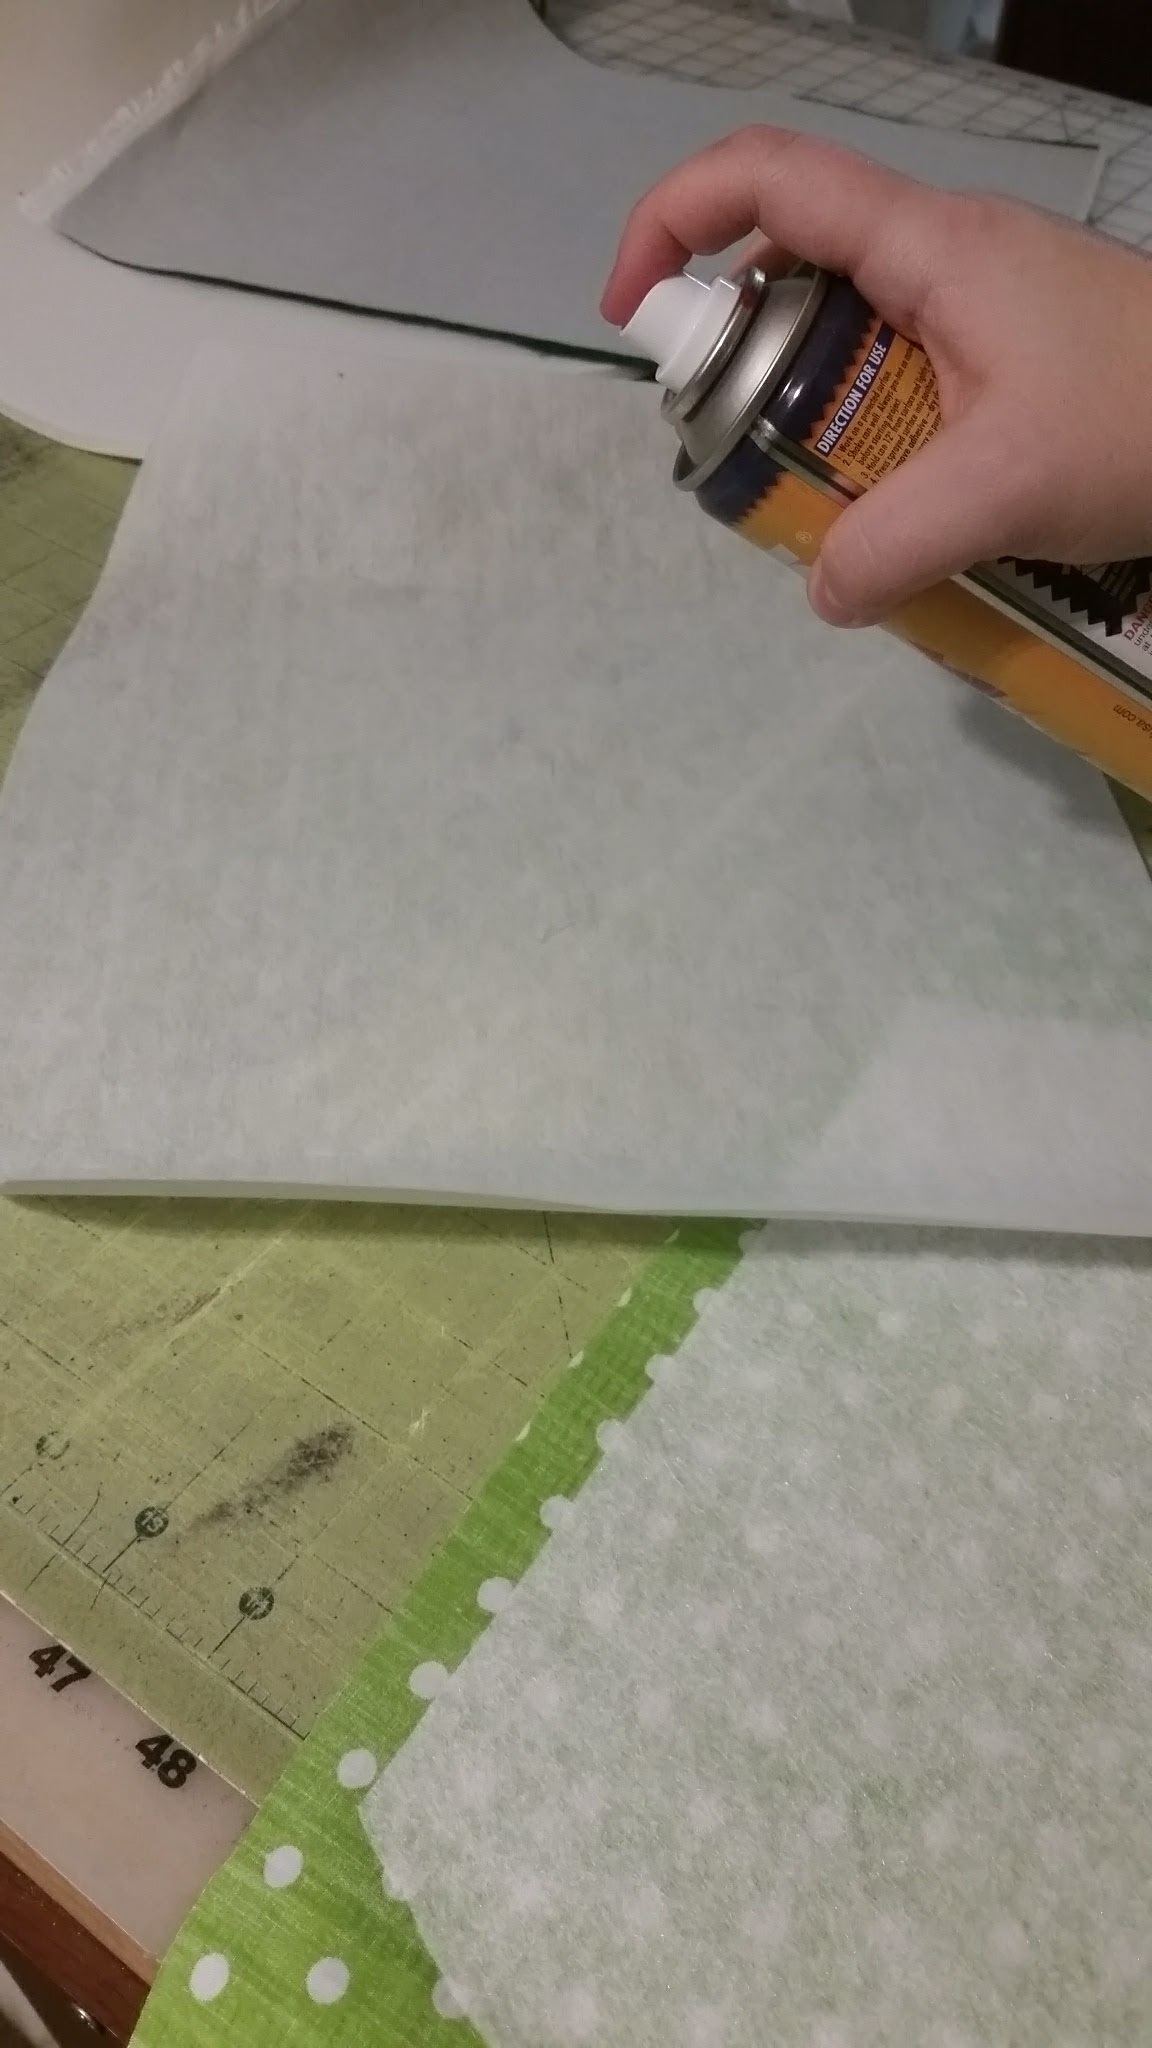
The inside can be done the same, or a little differently. Most of the time I block fuse the interior body piece with fusible fleece/medium weight interfacing. However, if you are concerned about seams being too thick because your fabric is thicker, you can cut a piece of fleece according to the pattern piece, trim some off of each edge, and then fuse it to the fabric. Then baste the medium weight sew-in interfacing to the fabric, or attach with spray adhesive.
Also, make sure to cut out the foam with your foam pattern piece.
Here are some extra tips that will make your life easier when making this pattern. When you cut out the end pieces, there is a V-shape. I cut around the round edges with my rotary cutter, and then straight across from tip to tip. I then use my scissors to get inside the V.
And my final tip: after cutting out the pattern pieces, use the markings on the pattern piece as a guide of where to mark with your fabric pen. These are pleat markings and center marks, and it will make it easier for you in the sewing steps to have those places marked clearly. I usually mark on the wrong side of the fabric, because the interfacing is white and my marks show up easier. Also, since all the seams will be trimmed later, I can use a regular pen if I want, not just a fabric pen.
And we are done! Tomorrow we will sew the exterior pieces together.


