
DIY Foam Floor Cushions (and Ottoman!), Part ONE

If you've seen my recent curtain post, you saw my fairly empty family room. We have blue couches, a tv, and now curtains! My kids, even with the large sectional, will often choose to sit on the floor so they can stretch out. My sister recently sewed her kids some stuffed floor cushions that they love, plus she used old foam couch cushions to make an ottoman. When I saw her projects, I wanted floor cushions for my kids too SO BADLY, but I thought foam cushions would be really cool. I priced it out, and wow, foam is expensive. I determined that as much as I wanted them, this was not a doable project. Then I thought that I could stack them up and make a cover, and then it would double as an ottoman. With tax season, we ended up with some extra money I could allocate towards this. I'm warning you now, ***This is an expensive project***. This is not a "Save hundreds of dollars by DIY" project. But I had some friends on Instagram interested in seeing my process, so I took pictures and will try to share how I did everything. For reference, I got some of my ideas from internet research, some from my sewing experience, and some things I just guessed and they turned out great. Here are my internet resources that I remember. 1. Info on Foam, 2. Info on sewing a boxed cushion, and 3. Another page on sewing a boxed cushion.
Foam
I decided I wanted to have my cushions be 30" square, but when I researched foam, I realized that wouldn't be fiscally possible. However, I found a slab that was 30" wide and 96" long, so I could cut it into (4) 30" x 24" cushions, and that would still be a great size. I picked foam that was 4" thick. I debated over 4" or 5", but since I knew I'd be stacking these for an ottoman, I didn't want the ottoman to be too tall. (That was the right choice).
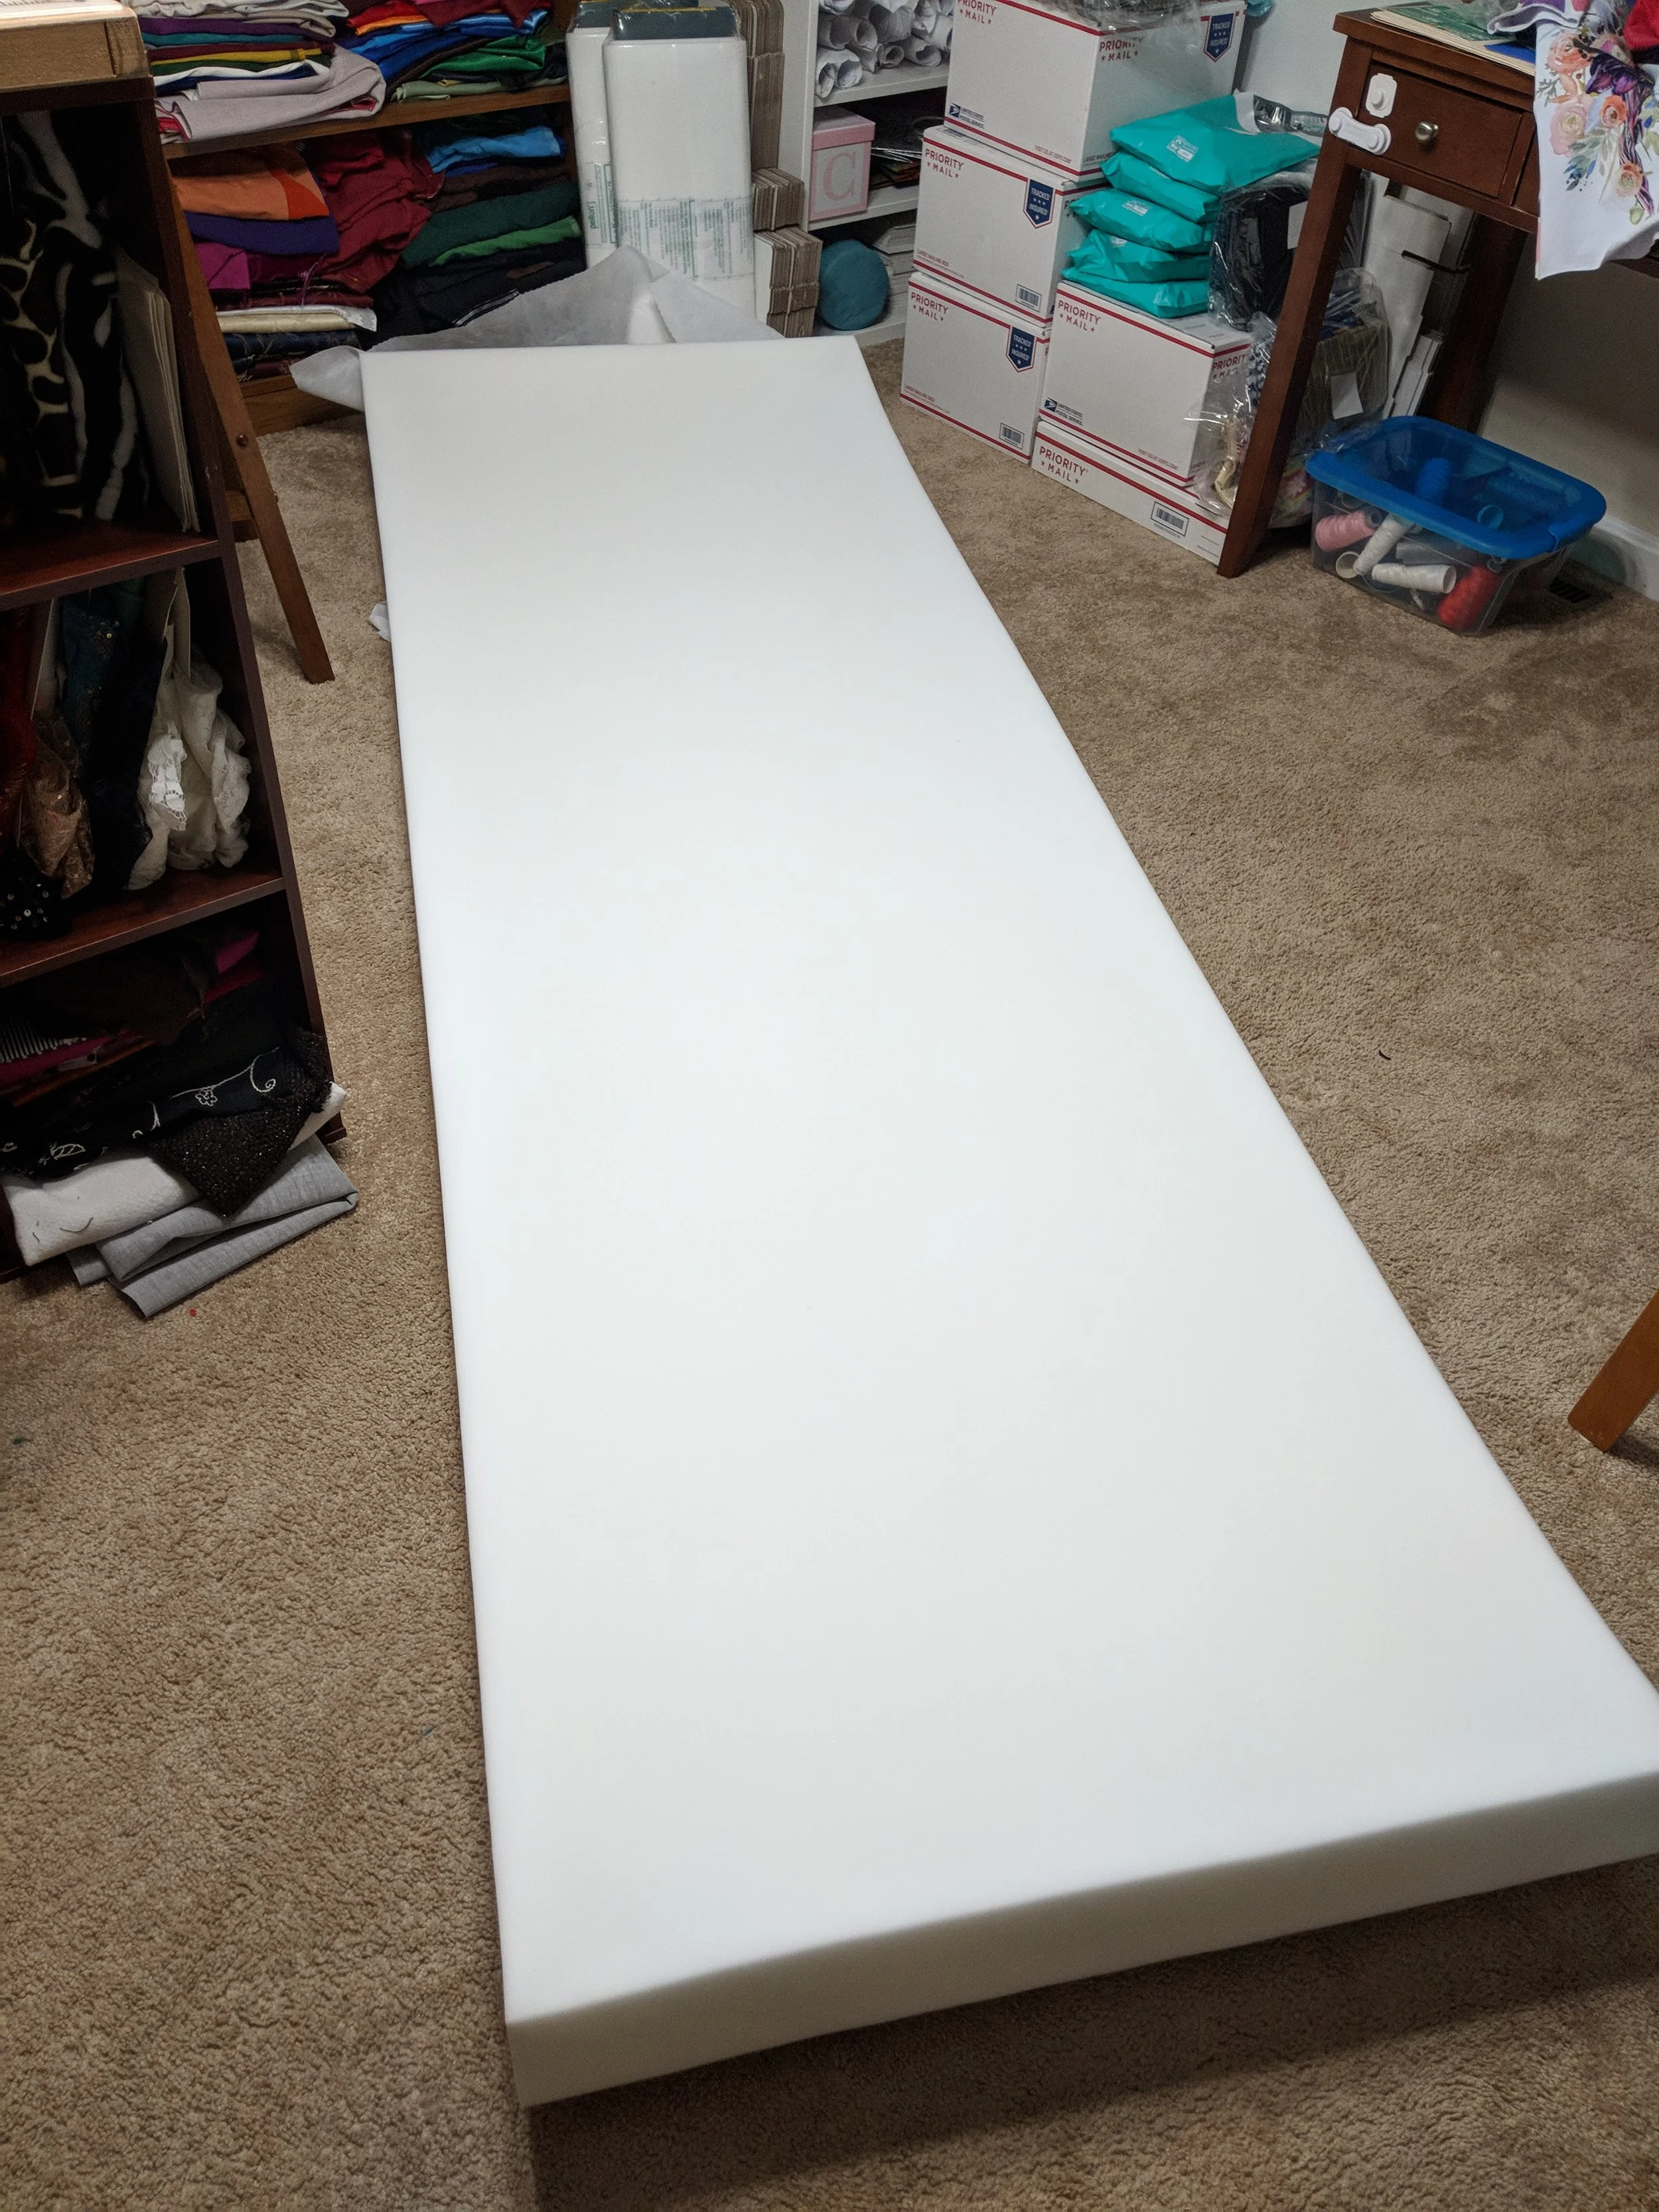
Cutting foam is really easy if you have a electric meat slicer. Since I don't, I used a heavier duty serrated knife. I made sure to mark the foam on both sides so I could easily see the marks and keep my lines straight.


Covering the Foam
When researching, it always seemed like people covered their foam in batting. I wasn't sure if it was necessary, but it seems to be to add some extra padding, and since I was determined to do this correctly, I bought upholstery batting. I bought a roll of 5 yards, 48" wide, and it was the exact amount I ended up needing with zero left over. I'm not sure if this batting is higher quality than the batting at the fabric store, but Amazon probably has better prices anyway, so I went with that.
I cut out a length 24" wide and long enough to wrap all the way around each cushion. With the leftover batting I cut pieces large enough to cover each side with a little extra on each edge to wrap around. I used some adhesive spray I had to spray the batting. (I cut open some trash bags and placed them on my carpet to protect it.) First I attached the sides and wrapped the extra around the foam edges. Then I took the long length, sprayed it, and wrapped it around. Not pictured: my thumb when I was done, covered in sticky spray adhesive!


Covering the cushions
I expect that these floor cushions will get dirty, so I decided to make these cushions with a removable, washable cover. That meant buying fabric that can be washed in the washer, and also covering the foam with other fabric as a permanent cover. I bought a couple yards of super wide, cheap muslin. I knew that I needed to make the cushion a little smaller than the dimensions. So I squished down the batting and use those dimensions. I ended up taking larger seam allowances later on because they were so loose, so I would recommend doing this: measure your foam. My foam came a little wider and longer than the stated dimensions, so each cushion was about 30.5" x 24.25" x 4", before I put the batting on. Ignore the added size from the batting because you want the cover to be nice and firm and not loose. Add your seam allowance. For simplicity I did a 1/2" seam allowance, so I added an inch to my other meaurements, and cut out six rectangles from the muslin to cover each of the cushion sides. Then I sewed together the big sides to the long edges (let's call them the gusset for simplicity, though I think the correct term may be boxing? Not sure, so I'll call it a gusset). So sew those four pieces all together. Then sew on one end gusset. Trim corners. Take the remaining end gusset and sew it to the others on just one edge. It will end up looking like the first photo below. Turn right side out, and pull it onto your cushion like a pillowcase. Finally, I hand-sewed the remaining three sides of that end gusset.


Next, sewing the covers! I am going to make that into a separate blog post because there are so many steps and pictures. Part Three will be the ottoman.