
Fabric peekaboo baby book
I have made so many baby gifts since I began sewing. A favorite of mine is color books, using scraps of fabric to create beautiful color and texture books for babies. I make them all the time, from small ones to deluxe versions. Here’s a post with a bunch I’ve made. I actually made one last week for my daughter’s teacher’s new baby.


But for this project, I wanted to do something a little different. If you don’t know much about the world of custom fabric printing, it’s gotten a lot more popular over the last handful of years. I buy custom fabric regularly on Facebook from a few different groups. It’s expensive, so I pick and choose what I buy because I could easily sink tons of money into it. Spoonflower, however, is the original fabric printing company, or at least, the most popular one. I’ve never ordered from them, so I went on their website and found info on what format and size the files needed to be.
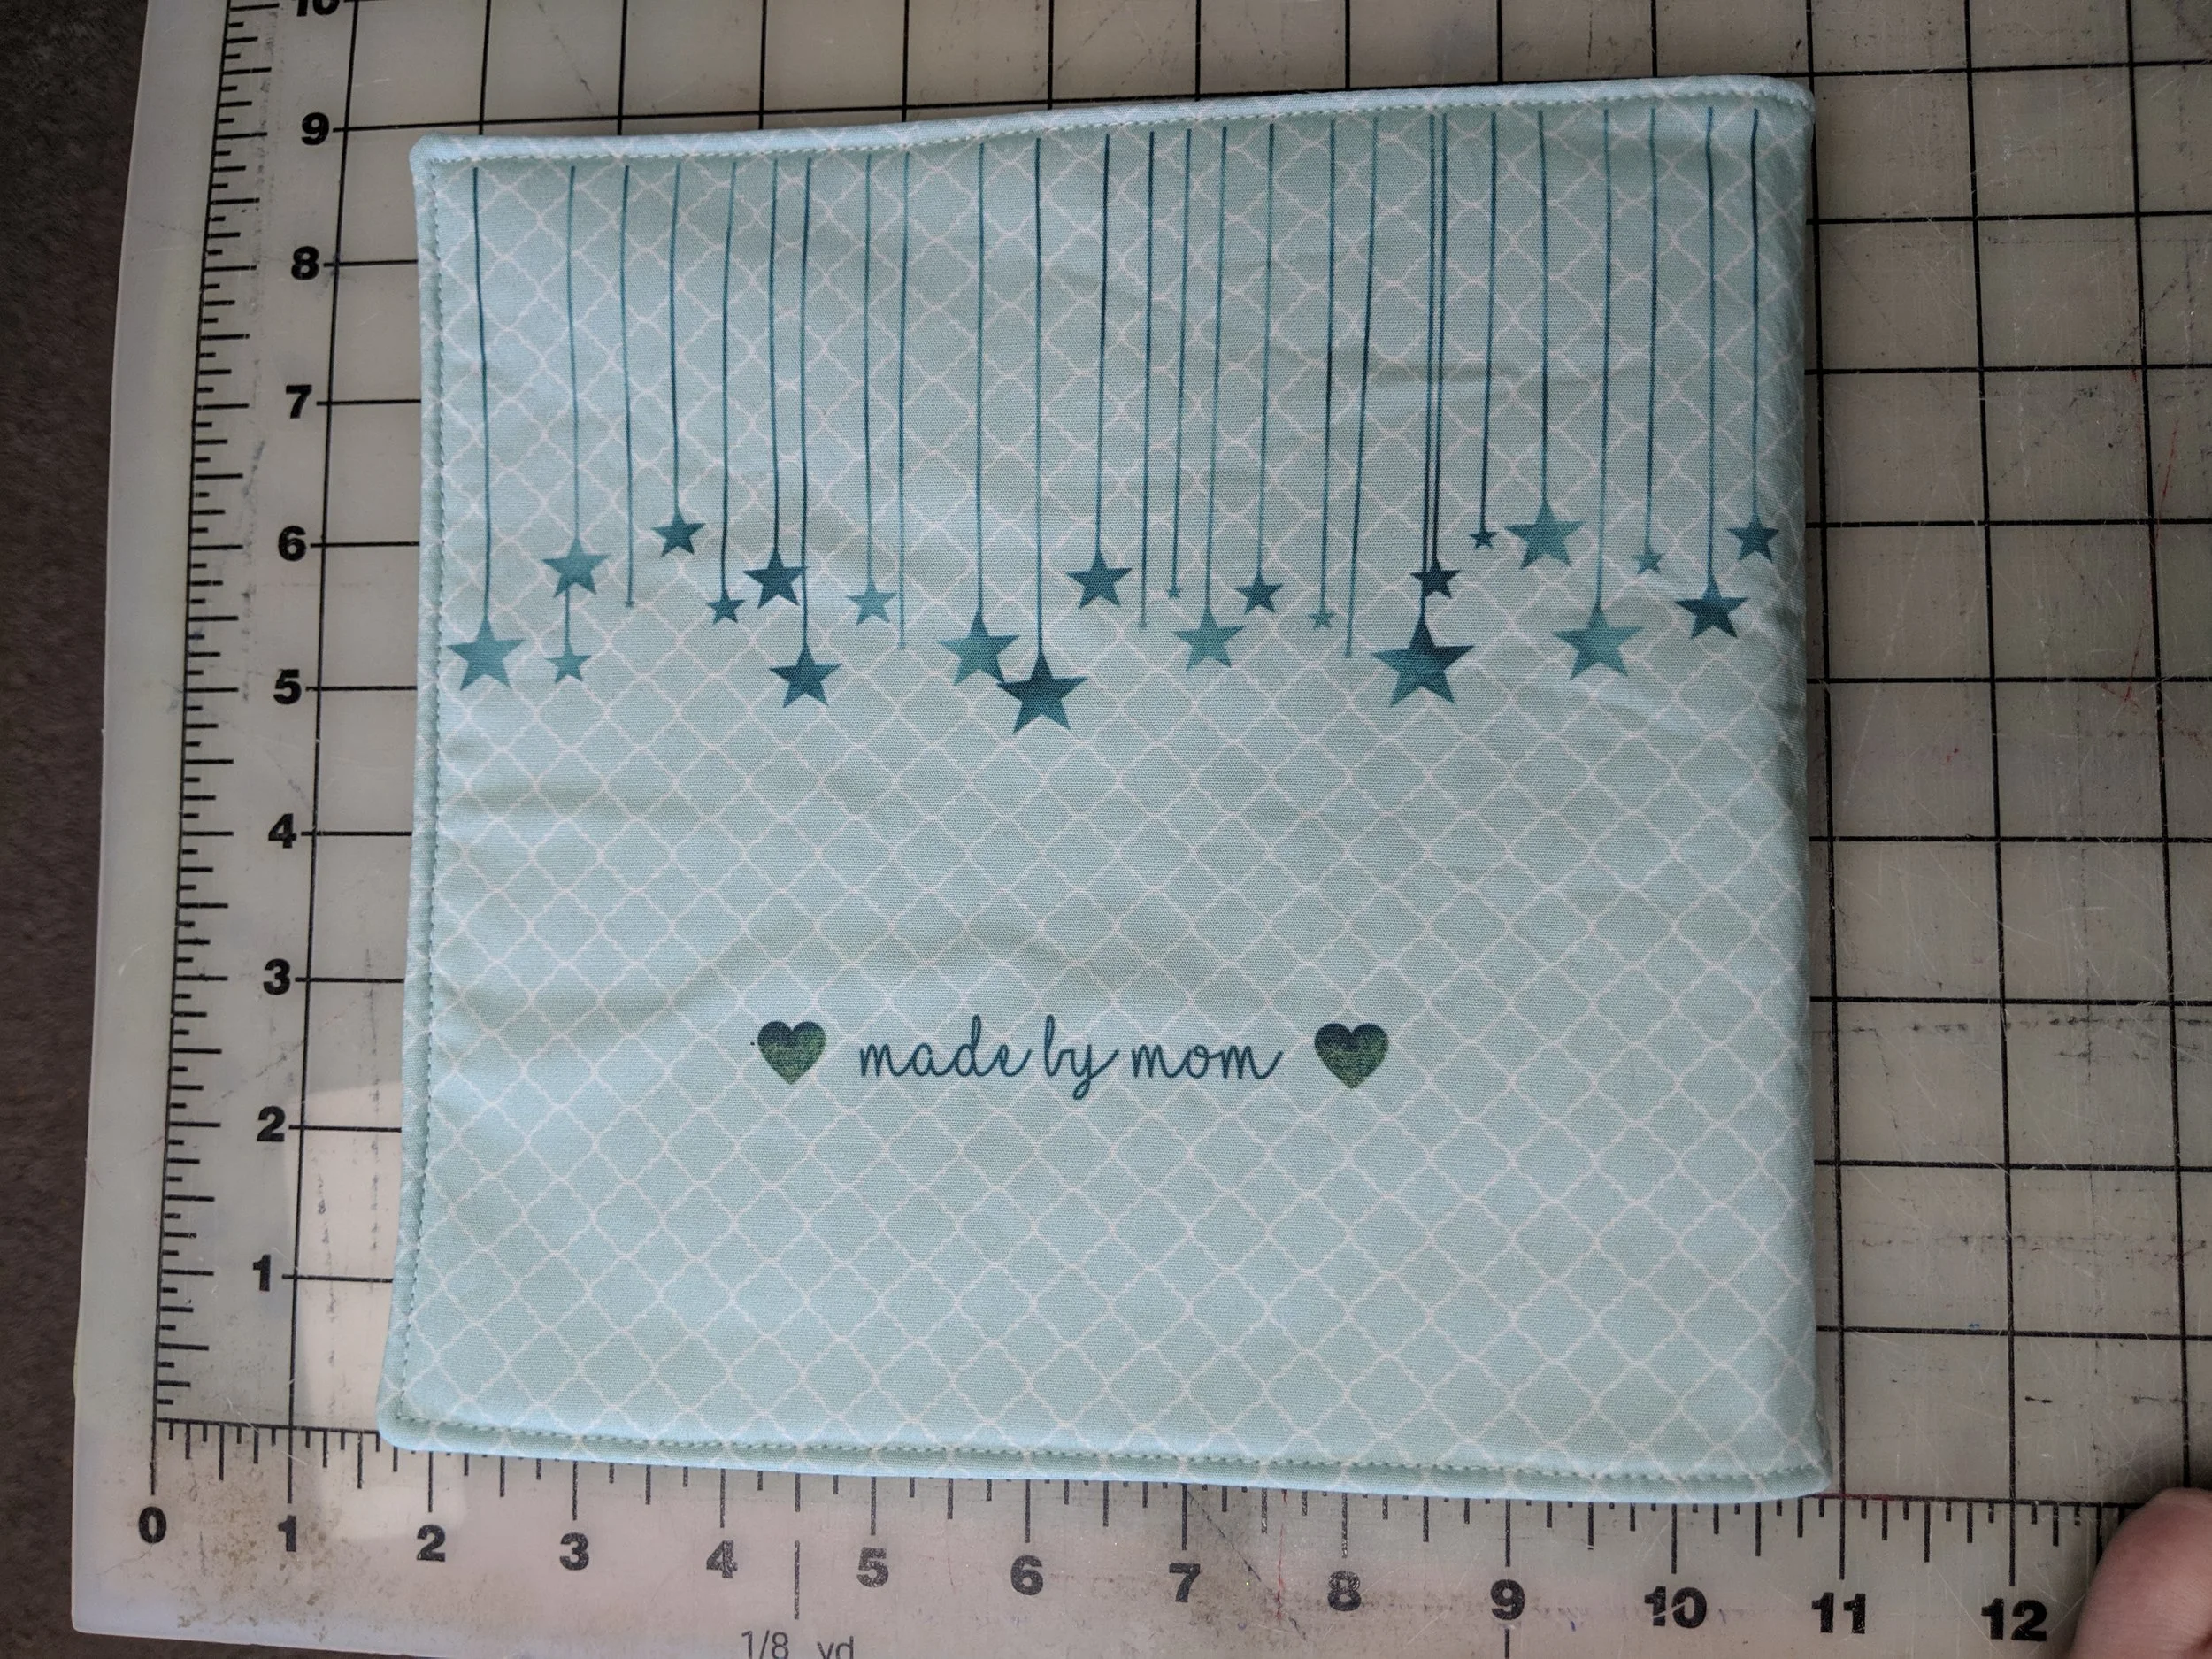
I use Adobe Illustrator for my sewing patterns, so that’s where I created this project. I started out with an artboard that was 36” high and 42” wide, since that was the dimensions of the cotton poplin that I wanted to use. The basic cotton or cotton Kona would have been good picks too, but I like the smooth texture of poplin. Also, we have a peekaboo book that my son likes a lot, and the fabric on it seems to most closely resemble poplin, so that influenced my decision.

Those two rectangles are 18” wide by 9” tall. I also had two rectangles that were 16.5” wide by 8.5” tall. When I make these books, seams can get bulky, so I like having the inner pages smaller than the cover pages. When I was putting together all the elements I had some temporary rectangles around the outside to keep my artwork getting into the seams, but I removed those for printing.

I am not a graphic designer, but I do like using the work of actual graphic designers! I got my backgrounds from digitalfield and my clipart from ClipArtBrat and CarrieStephensArt1. I also got backgrounds and clipart from papertreehousestudio and NewArtLife that aren’t shown in this post because I used them to make a second yard that will be a different book for my niece.
Each photo also would need a corresponding flap, so I added .75” to each photo dimension to make the flaps, which allows for a 1/4” seam allowance plus a little extra around each picture. Next time I think I would round up to an inch so each flap could have a little more overlap.

I was not originally planning on having artwork on the flaps, but when I realized that the pages would look a bit plain because the flaps would take up so much of the page, I added some artwork. Don’t forget a front and back for each flap! As you can see, I had extra room in my yard. I originally planned on having two books on one yard, and then putting the flaps on an extra half yard, but I thought the extra fabric in the correct color wouldn’t be a bad thing to have around in case something went wrong. It didn’t, so maybe my original plan would have been a little cheaper, but this made it easy to keep my projects separate.
When I saved my artboard, I believe I saved it at 300dpi.
Uploading and printing was fairly easy, and I just had to wait a couple weeks to get my fabric.


I was very happy with the results of the printing. Not all of my photos were very high quality, especially because I was taking them from Facebook, Instagram, and in some cases cropping people closely from a larger photograph. Also, this yard was too large to upload to Spoonflower when I saved it as a .png, so I had to save it as a .jpg. However, it looked just as good as the yard for my niece that I was able to save as a .png.
I didn’t take any photos of my sewing process, sorry. First, I ironed the fabric to both get out wrinkles and make sure it did any shrinking before I interfaced it. Then I cut on all the lines. I fused fusible fleece to one large rectangle and one small rectangle, and woven fusible interfacing to the other two rectangles. For the flaps, I fused all pieces with woven fusible. The flaps are a nice weight, but everything ended up a little wrinkly even after pressing, so I’m not sure if I’ll do that again or not. This poplin does tend to wrinkle.
After interfacing, I sewed the flaps together, leaving a turning opening in each. Then I turned, ironed, and sewed them close while also sewing them onto the pages. After all the flaps were sewn, I sewed together the two large rectangles and two small rectangles, leaving a hole for turning. Then I trimmed corners, turned, and topstitched around the whole page. Finally, I stacked the two pages and sewed one seam up the middle to attach them.


The result is a very charming book that completely captivated my 18 month old! He has never enjoyed sitting still for books, but he sat on my lap and lifted every flap. He got very excited about seeing his siblings and parents especially, and hopefully he’ll get more familiar with his aunts and uncles. I didn’t include all his cousins, because I have six siblings and lots of nieces and nephews, but I included the cousins he sees the most. My husband thinks it’s a little funny I also included my in-laws’ dog, but he’ll be seeing that dog a lot!

Here he is looking through it.
I still need to make a second one for my niece, but as her birthday is still a month away, I’m not in a rush.